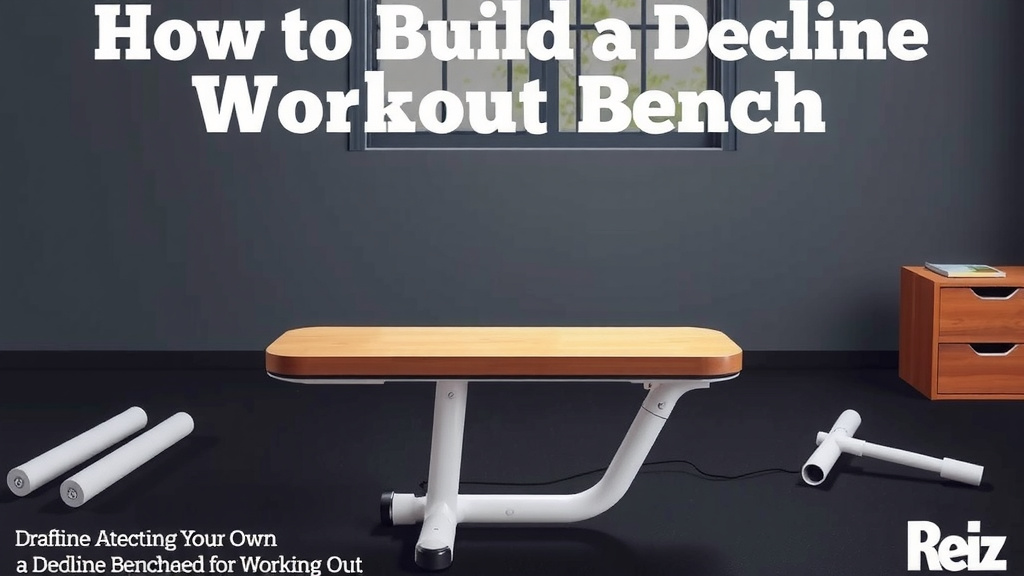
How to Build a Decline Bench for Working Out
Building your own decline bench is totally doable if you want a more affordable way to target your lower chest muscles. You can create a sturdy workout station at home with some basic tools and materials. It’s a great way to get that gym equipment feel without the big price tag.
A DIY decline bench can offer serious benefits for your workout routine. It allows you to perform exercises like decline presses and crunches effectively. Many fitness enthusiasts have found that a homemade bench is a reliable addition to their home gym setup, proving that you don’t need a factory-made piece to get a great workout.
- Gather your tools and materials first.
- Measure and cut your wood pieces accurately.
- Assemble the frame securely.
- Add padding for comfort.
- Test its stability before use.
Ready to get your hands dirty? Let’s walk through exactly how to build your own decline bench step by step.
Crafting Your Own Decline Workout Bench
Building your own decline bench can be a rewarding project. It’s a fantastic way to get specific lower chest engagement without breaking the bank. You can customize it to your needs. Let’s walk through how to make a sturdy one.
Gathering Your Materials and Tools
Before you start cutting and screwing, you’ll need to collect everything. Having all your supplies ready makes the building process much smoother. Think of it like gathering all your ingredients before you bake a cake.
Essential Wood Pieces
You’ll need sturdy lumber for the frame and support. Pine or fir are good choices for their balance of strength and cost. Here’s a common breakdown of what you might need:
- Two long pieces for the main frame (e.g., 2×6 or 2×8 lumber).
- Shorter pieces for cross supports.
- A thicker piece for the angled back support.
- Plywood for the bench surface.
Always measure twice and cut once. It’s better to have a slightly longer piece you can trim than a piece that’s too short.
Hardware and Fasteners
Screws are your best friend here. Wood screws designed for construction are ideal. You’ll also want some bolts for extra strong connections, especially where the legs attach. Don’t forget wood glue – it adds significant strength to your joints.
- Wood screws (various lengths).
- Carriage bolts with washers and nuts (optional, for high-stress areas).
- Wood glue.
Tools for the Job
You don’t need a professional workshop, but a few key tools will make your life much easier. A power drill is almost a must-have. Safety gear is also super important.
- Power drill with drill bits and screwdriver bits.
- Measuring tape.
- Pencil.
- Saw (hand saw, circular saw, or miter saw).
- Sandpaper or sanding block.
- Safety glasses.
- Work gloves.
Designing the Decline Bench Frame
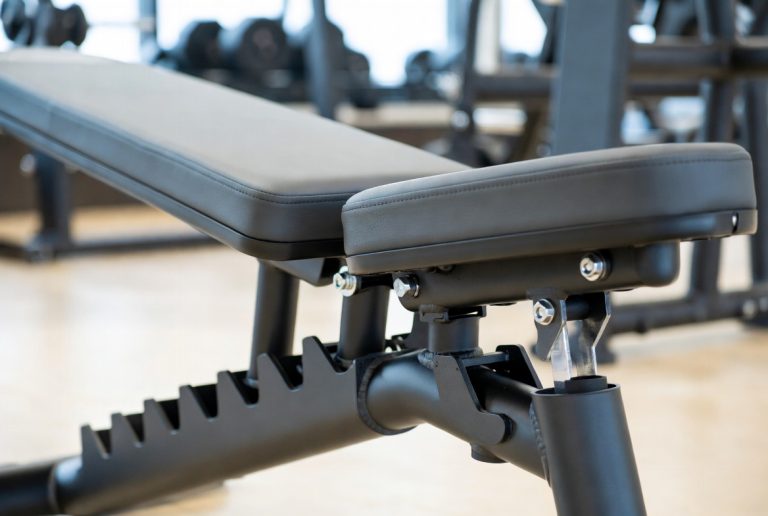
The frame is the backbone of your bench. It needs to be strong and stable. Most DIY decline benches have a main rectangular frame. One end will be slightly higher than the other to create the decline angle. We found that a simple rectangular base with angled legs is effective.
Determining the Angle and Height
The decline angle is personal preference, but most benches fall between 15 and 30 degrees. A steeper angle targets the lower chest more intensely. For height, consider your own stature. You want to be able to get on and off the bench comfortably. We found that a height of around 16-18 inches for the lower end is standard.
To figure out your decline angle, you can use a protractor or simply measure the height difference between the front and back supports. A common method is to make the back higher than the front by a set amount. For example, if your bench is 4 feet long, making the back 6 inches higher than the front will give you a consistent decline.
Cutting the Wood Pieces
Once you have your design, it’s time to cut. Accuracy here is key for a stable bench. Measure each piece carefully against your design plan. If you’re using a miter saw, you can easily cut precise angles for the legs if you’re going with that style.
For the main frame, you’ll likely cut two long pieces and two shorter pieces to form a rectangle. You’ll also need pieces for the cross supports that add rigidity. Don’t forget the angled pieces for the back support that creates the decline.
Assembling the Base Frame
Start by assembling the main rectangular frame. Apply wood glue to the edges where the pieces meet. Then, drive screws to secure them. It’s a good idea to pre-drill holes to prevent the wood from splitting. This makes screwing much easier too.
Next, attach your cross supports. These go across the width of the frame and add significant stability. They prevent the frame from wobbling. Again, use wood glue and screws for these connections. Make sure everything is square before the glue dries.
Adding Support Legs and the Decline Angle
Now, you need to attach the legs. You can have simple straight legs, or angled legs for a more stylish and stable look. The key is that the legs make the bench sturdy and support the decline angle.
Constructing and Attaching Legs
If you’re building straight legs, cut four identical pieces. If you’re angling them, you’ll need to cut the tops at an angle so they sit flush with the frame. Attach them securely to the underside of the frame using wood glue, screws, and possibly bolts for extra strength. Ensure all legs are the same length and the bench sits level before the decline is added.
Creating the Decline Angle Support
This is where you build the structure that creates the decline. You might have a dedicated support beam that is angled. Alternatively, your back legs can be shorter than your front legs, creating the angle naturally. Research and found that a separate angled support piece integrated into the frame offers robust stability.
This piece needs to be strong because it bears weight. Attach it firmly to the main frame. Make sure its angle is consistent with your design. This angled support will carry the weight of the bench surface and the person using it.
Building the Bench Surface and Padding
The bench surface is where you’ll sit and lie. It needs to be comfortable and strong. Plywood is a great material for this. Padding makes a huge difference in comfort during your workouts.
Cutting and Attaching the Plywood
Measure the top of your frame. Cut a piece of plywood to fit snugly. You might want two pieces – one for the seat and one for the backrest. Attach the plywood to the frame using screws. Ensure the surface is smooth and free of splinters.
Adding Comfortable Padding
This is where your DIY bench starts to feel like a gym piece. You can buy high-density foam padding. Upholstery foam works well. Cut it to size for your bench surface. Then, cover it with a durable fabric. Vinyl is a popular choice because it’s easy to clean. You can attach the fabric using a staple gun or wood strips.
Many fitness experts recommend a foam thickness of 2-3 inches for good support and comfort (National Strength and Conditioning Association guidelines). You want it firm enough to support you but soft enough to be comfortable for longer sets.
Final Checks and Stability Testing
Before you even think about doing a decline press, you need to make sure your bench is safe. This is arguably the most important step. A wobbly bench is not only uncomfortable but also dangerous.
The Wobble Test
Give the bench a good shake. Push it from different angles. Does it feel solid? Are there any loose screws or joints? If you find any instability, reinforce those areas immediately. Add more screws, glue, or even a reinforcing bracket where needed.
Weight Testing Safely
Gradually apply weight to the bench. Start by sitting on it. Then, lie down. You can even have a friend carefully place some dumbbells on it. Listen for any creaking or groaning. This can indicate stress points. We found that a final check of all fasteners and joints ensures peace of mind before your first workout.
Checklist for a Solid Build
Let’s recap the final checks. You’ve come this far, so let’s ensure your creation is gym-ready!
- All screws are tight.
- All glued joints are fully cured.
- No wood is cracked or splintered.
- The bench sits level on the floor (without you on it).
- It feels completely stable when you apply body weight.
You’ve done it! You’ve built your own decline bench. Now you can enjoy targeted lower chest workouts right in your home gym.
Conclusion
You’ve successfully navigated the steps to build your own decline bench. Remember, a sturdy DIY bench can be a fantastic, cost-effective addition to your home gym. By carefully gathering materials, cutting accurately, and testing thoroughly, you’ve created a reliable piece of equipment. Now it’s time to put your new bench to work and experience those targeted lower chest gains. Get ready to feel the burn and enjoy the satisfaction of building something great!
Frequently Asked Questions
How steep should the decline angle be?
Most people find a decline angle between 15 and 30 degrees works well. A steeper angle will target your lower chest more intensely. You can adjust this based on your comfort and fitness goals.
Can I use standard pine for the frame?
Yes, standard pine or fir lumber is generally suitable for the frame. Just ensure you select pieces that are straight and free from major knots. Using 2×6 or 2×8 lumber will provide good stability for your bench.
How do I ensure the bench is stable and safe?
Thorough stability testing is key. After assembly, perform a “wobble test” by pushing on the bench from all angles. Then, gradually add weight, starting with sitting on it, before attempting any exercises.
What kind of padding is best for the bench surface?
High-density foam padding, about 2-3 inches thick, is recommended for good support and comfort. Materials like upholstery foam work well, and a durable fabric cover, such as vinyl, makes it easy to clean.
What if I don’t have a power saw?
If you don’t have a power saw, a good quality handsaw can certainly do the job, though it will require more effort. Ensure you measure accurately and use a guide for straighter cuts. A miter box can also help you make precise angle cuts for legs.