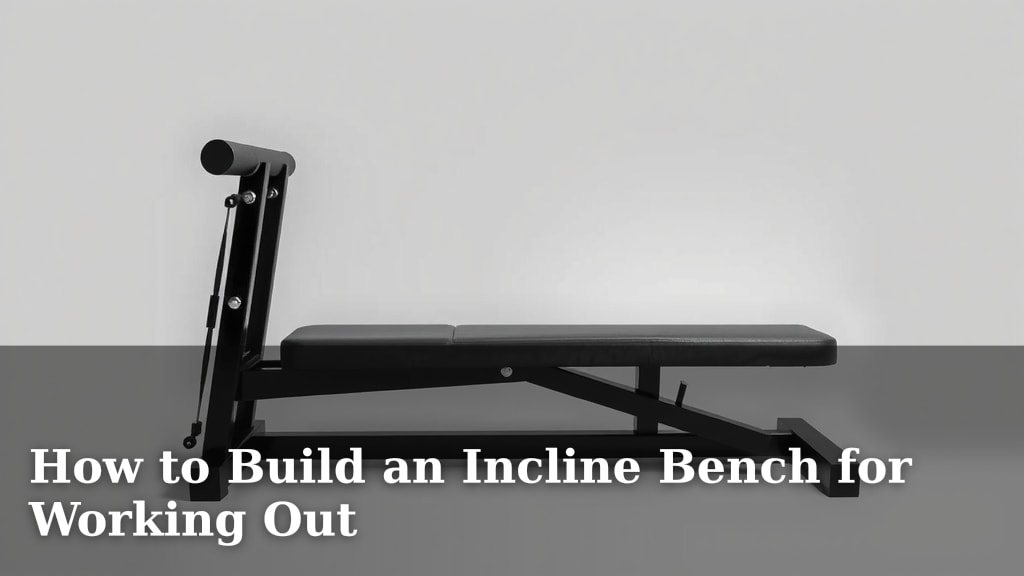
How to Build an Incline Bench for Working Out
Building your own incline bench is a smart way to save money and customize your home gym. You can create a sturdy and functional piece of equipment with basic tools and materials, perfect for exercises like incline presses and shoulder work. It’s more affordable than buying new and allows you to tailor it to your specific needs.
Many DIYers find that constructing an incline bench is a rewarding project. It’s a great addition for anyone looking to expand their workout options at home. We found that with clear instructions, even beginners can tackle this build and end up with a reliable piece of fitness gear.
- Gather your materials like wood, bolts, and padding.
- Cut your wood pieces to the correct dimensions.
- Assemble the frame securely using screws and bolts.
- Add the padded seat and backrest.
- Ensure the bench is stable and safe for use.
Ready to get started? Let’s walk through exactly how to build your very own incline bench step by step.
“`htmlCrafting Your Own Home Gym Incline Bench
Building a sturdy incline bench at home is totally doable. You don’t need a fancy workshop. With a few common tools and some lumber, you can create a great piece of fitness equipment. We found that this project is quite rewarding. It’s a fantastic way to save money compared to buying one. Plus, you get to customize it just for you.
Gathering Your Supplies: What You’ll Need
Before you start cutting wood, let’s make sure you have everything. Having all your materials ready makes the building process smooth. Think of it like prepping ingredients before you cook. It prevents those frustrating “Oh no, I forgot X!” moments.
The Lumber List
You’ll need a few types of wood. Standard construction lumber works great for the frame. 2x4s and 2x6s are your best friends here. For the bench top and backrest, a sturdy piece of plywood is ideal. Aim for something at least 3/4 inch thick. This ensures it can handle your weight during workouts.
Hardware and Padding
Don’t forget the fasteners! You’ll want a good amount of wood screws. Deck screws are a solid choice because they resist rust. For attaching the main components, like the legs to the frame, consider using carriage bolts with washers and nuts. For comfort, you’ll need some foam padding. High-density foam works best. Then, you’ll need a durable fabric to cover the padding. Vinyl or a tough upholstery fabric is a good idea. It needs to withstand sweat and wear.
Tools for the Job
Most of these tools are probably already in your garage or shed. You’ll need a tape measure and a pencil for marking. A saw is essential for cutting the wood. A circular saw or even a handsaw will do. A drill with various drill bits is a must for pilot holes and driving screws. A wrench or socket set will be needed for the bolts. Finally, a staple gun is super helpful for attaching the upholstery fabric.
Measuring and Cutting Your Wood Pieces
Precision is key here. Accurate cuts mean a stable bench. Double-check your measurements before you cut. It’s better to measure twice and cut once, right? We found that marking all your cuts before you start sawing helps keep things organized.
Frame Dimensions: The Foundation
Let’s think about the basic structure. You’ll likely want two side supports for the frame. These will run lengthwise. Then, you’ll need cross supports to connect them. These cross supports add strength. They also provide a place to attach the bench top.
Bench Top and Backrest Sizing
The main bench surface should be comfortable. A width of about 10-12 inches is usually good. The length can vary, but 40-48 inches is a common range. For the backrest, aim for a similar width. Its length will depend on how many incline angles you want. A good starting point is around 30-36 inches for the backrest.
Assembling the Incline Bench Frame
Now for the fun part: putting it all together! This is where your bench starts to take shape. Work on a flat surface. This helps ensure everything stays square and level as you build.
Building the Base and Legs
Start by constructing the main rectangular frame. Attach your cross supports to the side supports. Use wood screws. Pre-drilling pilot holes will prevent the wood from splitting. This is a critical step for structural integrity. Next, you’ll attach the legs. You might have four separate legs or a more stable A-frame design. Ensure the legs are securely fastened. Use those carriage bolts here for maximum strength. They provide a much stronger connection than screws alone.
Creating the Incline Mechanism (Optional but Recommended)
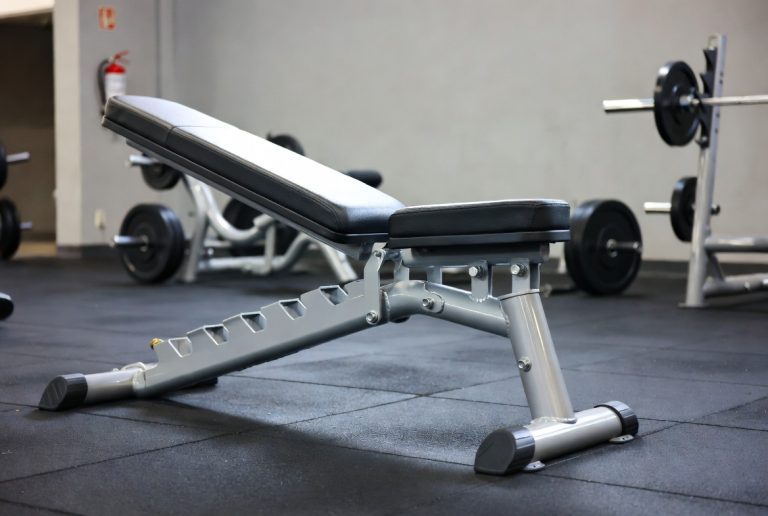
How will your bench incline? Some designs use a simple adjustable leg that props up the backrest. Others have a more sophisticated locking system. For a basic DIY build, you can create notches or a series of holes on one of the frame supports. Then, a movable peg or bar can slot into these to hold the backrest at different angles. Research different designs online for inspiration. Many DIYers find success with a simple pop-pin or bolt system.
Adding the Padded Surfaces
A hard wooden bench isn’t very comfortable for workouts. Padding makes a huge difference. This is where your foam and fabric come in. You want a surface that’s firm enough to support you, but soft enough for comfort.
Preparing the Foam
Cut your high-density foam to match the dimensions of your plywood bench top and backrest. Make sure the cuts are clean. You want a smooth surface for the fabric to lay over. You can often get foam cut to size at fabric stores or upholstery shops.
Upholstering Your Bench
Lay your chosen fabric over the foam. Then, place the foam-covered plywood on top. Pull the fabric tightly over the edges of the plywood. Use your staple gun to secure the fabric to the underside of the plywood. Work your way around, keeping the fabric taut. Smooth out any wrinkles as you go. This ensures a professional-looking finish. Be generous with the staples, especially on the underside. You don’t want any shifting during use.
Attaching the Padded Surfaces to the Frame
Once your plywood pieces are padded and upholstered, it’s time to attach them to the frame. You can screw them directly into the frame from the underside. Make sure the screws are long enough to go through the plywood and into the frame securely. For the backrest, ensure it can still pivot if you’ve built an adjustable mechanism.
Final Checks and Safety First
You’re almost there! Before you jump on your new bench, give it a thorough safety check. Stability is absolutely paramount for any piece of gym equipment. You don’t want it wobbling or collapsing mid-set.
Wiggle Test: Is It Sturdy?
Try putting some weight on the bench. Push down on it. Try to rock it from side to side. Does anything feel loose? Tighten any screws or bolts that seem wobbly. If the bench feels unstable, you might need to add extra bracing to the frame. Research suggests that diagonal bracing can significantly increase stability.
Smooth Edges and Surfaces
Run your hands over all the edges. You don’t want any sharp splinters or rough spots. Sand down any rough areas. This protects you and your workout gear. Check that all hardware is flush or countersunk so it won’t snag.
Weight Capacity Considerations
While we can’t give exact weight limits for a DIY build, using solid lumber and proper construction techniques will result in a strong bench. If you’ve used 2x4s for the frame and good quality plywood, it should easily support hundreds of pounds. Many similar DIY projects found online report capacities well over 300-400 lbs, but always build with stability and strength in mind.
- Double-check all screw and bolt tightness.
- Ensure the frame sits perfectly flat on the floor.
- Test the incline mechanism for smooth operation.
- Inspect all wood for sharp edges or splinters.
- Have a friend gently apply weight while you watch for movement.
- Confirm your upholstery is secure and wrinkle-free.
Conclusion
You’ve now got a clear roadmap to building your own sturdy incline bench! We’ve walked through gathering materials, cutting wood with precision, and assembling a strong frame. Don’t forget the importance of comfortable padding and that final safety check to ensure your new bench is reliable. This DIY project is a fantastic way to add a versatile piece to your home gym without breaking the bank. Now, grab your tools, get building, and enjoy those incline workouts!
Frequently Asked Questions
What kind of wood is best for an incline bench?
For the frame, standard construction lumber like 2x4s and 2x6s works well because they are strong and affordable. For the bench top and backrest, a sturdy piece of 3/4-inch plywood will provide a solid base for your padding.
How can I make the incline adjustment work reliably?
A simple DIY method is to create a series of notches or holes on one of the frame supports, then use a movable peg or bar that slots into these. Many also find success with adjustable leg supports or a bolt-through system for secure angling.
Is it possible to make an incline bench for a beginner?
Absolutely! With clear instructions and careful measurements, this project is very beginner-friendly. Focusing on a simple, sturdy frame design makes it a manageable and rewarding build for those new to DIY projects.
How wide and long should the bench be?
A common comfortable width for the bench surface is around 10-12 inches. For the length, 40-48 inches is typical for the main seat, with a backrest around 30-36 inches, depending on your desired incline range.
What are the most important safety checks before using the bench?
Always perform a “wiggle test” to ensure the bench is stable and doesn’t wobble. Double-check that all screws and bolts are tightly secured, and sand down any rough edges or splinters to prevent injury and protect your clothing.