How to Build a Cheap Workbench
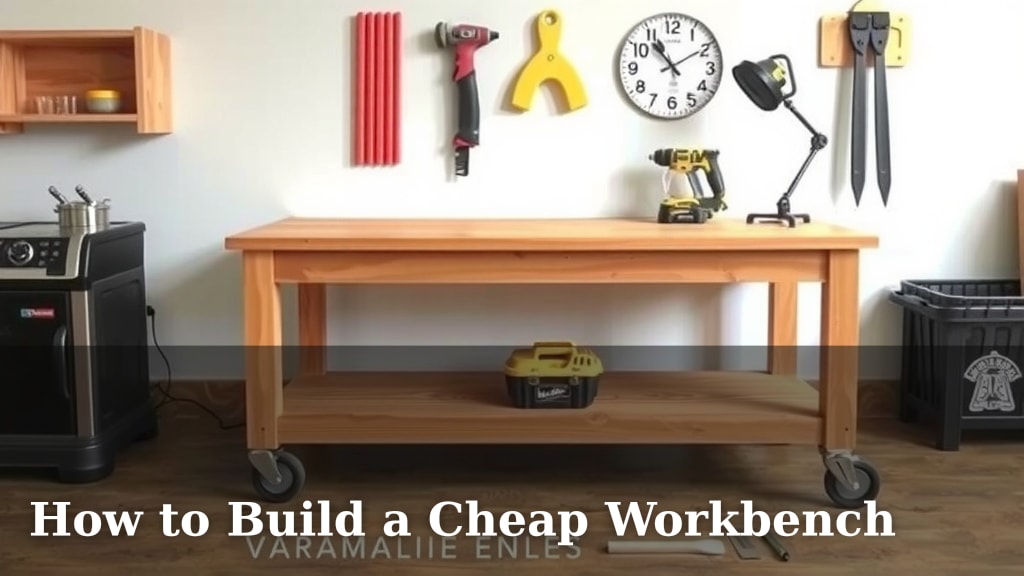
Building a cheap workbench is totally doable! You can create a sturdy and functional workspace without spending a fortune. The key is to use affordable materials and simple construction methods. You don’t need fancy tools or advanced woodworking skills.
Many DIYers find that a workbench can easily become a costly project. But by focusing on smart material choices and efficient designs, you can keep the price way down. This is perfect for your garage, shed, or even a corner of your home. It’s about creating the space you need on a budget.
- Use common lumber like pine or fir.
- Consider plywood or MDF for the top.
- Simple designs require fewer materials.
- Shop around for the best prices on fasteners.
Ready to build your own budget-friendly workbench? Let’s walk through some easy steps and clever tips to get you started.
So, you’re ready to build a workbench without emptying your wallet? That’s fantastic! A sturdy workbench is a game-changer for any workshop, garage, or even a basement corner. You don’t need to be a master carpenter or spend a fortune. We’ll show you how to create a reliable workspace using clever material choices and straightforward designs.
Your Guide to Crafting an Affordable Workbench
Building a workbench on a budget is about making smart choices. It’s totally achievable with common materials and simple plans. Let’s break down the essentials so you can get building.
Choosing Your Workbench Materials Wisely
The materials you select will have the biggest impact on your budget. Luckily, there are plenty of cost-effective options that don’t skimp on durability.
The Foundation: Legs and Frame
For the legs and main frame, you’ll want something strong and readily available. Common lumber is your best friend here. Pine or fir dimensional lumber (like 2x4s or 4x4s) are excellent choices. They are widely available and significantly cheaper than hardwoods. You can often find these at your local big-box home improvement store or lumber yard. We found that 2x4s are usually the go-to for a good balance of strength and cost. If you plan on putting a lot of weight on your bench, consider using 4x4s for the legs. This adds stability without a huge price jump. Planning your dimensions early helps you buy just the amount you need, reducing waste and cost.
The Work Surface: Top Materials
The workbench top needs to be tough. It’s where all the action happens! For a budget build, two popular choices stand out: plywood and Medium-Density Fiberboard (MDF). Plywood, especially a good grade of construction-grade pine or fir plywood, offers decent durability and is relatively affordable. Aim for at least 3/4-inch thickness. For even more robustness, you can layer two pieces of 3/4-inch plywood or one layer of 3/4-inch plywood with a 1/4-inch hardboard or melamine top layer. MDF is another very economical option. It’s smooth and flat, making it great for certain tasks like detailed sanding or model building. However, MDF doesn’t handle moisture well, so it’s best used in a dry environment. It’s also heavier than plywood. Many DIYers find that a double-layer plywood top is a great compromise for strength and cost.
Fasteners: Screws and Bolts
Don’t forget the things that hold it all together! Standard wood screws are usually sufficient for most workbench designs. Look for good quality screws that won’t strip easily. Buying screws in bulk boxes is often more economical than buying smaller packs. For connecting the legs to the frame, especially if you’re using thicker lumber, you might consider lag bolts. They provide a very secure connection. Make sure you have the right drill bits for pilot holes and driving screws. Sometimes, a small investment in a good set of drill bits pays off in saved time and frustration.
Simple Workbench Designs for Maximum Savings
You don’t need complicated joinery to build a strong workbench. Simple designs are often the most cost-effective and easiest to build.
The Classic ‘4-Leg’ Design
This is perhaps the most straightforward and popular design for a cheap workbench. It typically involves four legs made from 4x4s or doubled-up 2x4s, connected by a sturdy apron made from 2x4s. The top is then attached to this frame. The beauty of this design is its simplicity. You can adjust the height and size to fit your space and needs perfectly. Many plans online use this basic structure, making it easy to find free diagrams. Research shows that a well-braced 4-leg design can easily support hundreds of pounds (Family Handyman).
The ‘Sawhorse-Style’ Workbench
Another very economical option uses two sturdy sawhorse-style leg assemblies. These are essentially two ‘A’ frames or box-like structures that support a solid top. This design often requires fewer pieces of lumber overall. The legs can be made from 2x4s, and the connecting pieces are also 2x4s. You then lay your chosen top material across the two supports. This type of workbench can be easier to move if needed, though it might not be quite as rigid as a dedicated 4-leg build. It’s a great choice for temporary setups or when space is very limited.
Considering a Wall-Mounted or French Cleat System
If floor space is at an absolute premium, you can build a workbench that attaches directly to your wall studs. This involves building a sturdy frame that is securely lagged into wall studs, with a top attached. For even more budget-friendliness and versatility, consider a French cleat system mounted on the wall above your workbench. This allows you to hang tools and accessories, keeping your benchtop clear. While the bench itself can be cheap, the cleats add a modular element that’s very useful.
Smart Shopping and Construction Tips
Saving money doesn’t stop at material selection. How you shop and build makes a big difference.
Where to Find Affordable Materials
Your local lumber yard or big-box home improvement store are your primary destinations. Look for sales on dimensional lumber. Sometimes, you can find “cull” lumber at a discount – these are pieces with minor defects that don’t affect structural integrity. Just inspect them carefully! Don’t overlook salvaged materials if you have access to them. Old doors can sometimes be repurposed as sturdy workbench tops, and scrap lumber can be a goldmine. Check online marketplaces for used tools or building materials too; you never know what deals you might find.
Minimizing Waste
Before you buy, measure twice, cut once. This old adage is crucial for saving money. Plan your cuts so you can get the maximum number of pieces from each board. For example, if you need several 30-inch pieces, see if you can get two from a standard 8-foot (96-inch) board with minimal waste. Many lumber yards will cut your wood to size for a small fee, which can sometimes be worth it if you don’t have a good saw, as it ensures accurate cuts and can save you time. Consider the standard lengths of lumber when designing your workbench to avoid awkward offcuts.
Essential Tools (Keep it Simple!)
You don’t need a professional workshop. A basic toolkit is usually enough: a tape measure, a pencil, a speed square, a handsaw or circular saw, a drill/driver, and safety glasses. If you plan on doing a lot of precise cuts, a miter saw can be a great investment, but for a single cheap workbench, a handsaw or circular saw will suffice. When drilling pilot holes for screws, especially into denser wood, it helps prevent splitting and makes driving the screws much easier. Having a level on hand is also important to ensure your workbench sits flat.
Fastener Checklist for Your Build
Here’s a quick rundown of what you’ll likely need:
- Wood screws (various lengths, e.g., 2.5-inch and 1.5-inch)
- Lag bolts (if needed for heavy-duty connections)
- Washers (for lag bolts)
- Drill bits (for pilot holes and driving screws)
- Wood glue (optional, but adds strength)
A Sample Material List (for a basic 2×4 and Plywood Workbench)
This is a general idea; always adapt to your chosen plan and dimensions. We found this breakdown to be helpful for beginners:
| Material | Approximate Quantity | Typical Use |
|---|---|---|
| 2×4 Lumber | 10-15 boards (8-foot length) | Legs, frame, apron, bracing |
| 3/4-inch Plywood | 1-2 sheets (4×8 feet) | Workbench top |
| Wood Screws | 1-2 lb box (e.g., 2.5-inch) | Assembling frame and attaching top |
| Optional: 4×4 Lumber | 4 pieces (cut to height) | For stronger legs |
Remember to factor in the cost of any finishing materials like paint or sealant if you plan to use them. These basic materials, sourced smartly, are the foundation of your budget-friendly workbench.
Conclusion
You’ve learned that building a cheap workbench is entirely achievable. By focusing on affordable materials like pine and plywood, and opting for simple designs such as the classic 4-leg or sawhorse styles, you can create a functional workspace without breaking the bank. Smart shopping, minimizing waste, and using basic tools are key to keeping costs down. Now you have the knowledge to plan and construct your own sturdy workbench. Your next step is to grab your measurements, sketch out your design, and head to the store to gather your materials. Get ready to build something great!
Frequently Asked Questions
What’s the absolute cheapest wood I can use for a workbench?
The most budget-friendly options are usually common dimensional lumber like 2x4s and 2x6s made from pine or fir. For the top, construction-grade plywood or even MDF can be very inexpensive. Always check for sales or consider “cull” lumber at your local yard for even greater savings.
Can I build a strong workbench without fancy tools?
Absolutely! A good, sturdy workbench can be built with just a few basic tools. You’ll need a tape measure, pencil, speed square, a handsaw or circular saw, and a drill/driver. These are usually enough to get the job done effectively.
How thick should my workbench top be to handle heavy projects?
For good durability, aim for at least 3/4-inch thick material for your top. Many people find that doubling up on 3/4-inch plywood or adding a thin layer of hardboard or melamine over plywood creates a super tough surface without costing a lot.
Is there a design that uses less wood and is therefore cheaper?
Yes, a sawhorse-style workbench design often uses less lumber than a traditional four-leg design. It consists of two sturdy leg frames that support the top, which can significantly reduce material costs and make it a bit more portable.
How can I make my cheap workbench last longer?
To extend the life of your workbench, especially if using MDF, consider sealing it with a coat of paint or a clear sealant. This will help protect the wood from moisture, spills, and general wear and tear, keeping your workspace functional for years.