How Much Room Do You Need Around a Workbench?
You need at least 3 feet of clear space around your workbench for comfortable and safe use. This allows for easy movement, tool access, and prevents stubbed toes. For a two-person operation, aim for 4 feet or more. Always consider the types of projects you tackle.
Proper workbench spacing is key to a functional workshop. It’s not just about standing there; it’s about having room to maneuver, swing a hammer, or even just grab a tool without a struggle. You want your workspace to feel efficient, not cramped. Many DIYers find that adequate clearance makes all the difference in enjoying their hobbies.
- Aim for at least 3 feet of clear space.
- Increase to 4 feet if multiple people will use it.
- Consider space for tool storage and project materials.
- Think about how you’ll move around the bench.
Let’s break down exactly how much room you should plan for and why it matters so much for your workshop setup.
Figuring Out Your Workbench Space Needs
How much room do you really need around your workbench? It’s a question that pops up for almost anyone setting up a workshop. The simple answer is: more than you think. Proper spacing makes a huge difference in safety and efficiency.
The Minimum Recommended Clearance
Most experts agree that a minimum of 3 feet of clear space is essential around your workbench. This is your basic, comfortable zone. It allows you to stand, turn, and access tools without feeling cramped.
Think of it like your personal bubble. This space lets you work without constantly bumping into walls or equipment. It’s the sweet spot for many DIY projects. You’ll find it makes a big difference.
When More Space is Better
Sometimes, 3 feet just isn’t enough. We found that if you plan to have two people working at the bench simultaneously, you’ll want more room. Aim for at least 4 feet of clearance in this case.
This extra foot or so prevents awkward collisions. It means you can both reach for tools or materials without getting in each other’s way. It’s a simple adjustment that prevents frustration.
Factors Influencing Your Space Requirements
Your workbench needs aren’t one-size-fits-all. Several factors influence how much space you should plan for. Let’s look at what really matters.
Types of Projects You Tackle
What kind of work do you do? Projects requiring large materials, like building furniture or working with sheet goods, need more room. You’ll need space to maneuver these items. Small electronics repair might need less.
Consider projects where you might need to step back and look at your work. Or tasks that involve swinging tools. This all adds to your space needs. A little extra room here pays off.
Tool Storage and Accessibility
Where will you keep your tools? If you have shelves, cabinets, or rolling carts around your bench, you need space for them. You also need room to open doors and drawers.
Think about how you grab your tools. Do you need to reach for them often? This means clear paths to those storage areas are important. We found that accessible storage saves time.
Movement and Ergonomics
How do you move around your workspace? Some people prefer to stand still. Others like to pace or shift their weight. Your personal working style matters.
Also, consider ergonomics. If you need to lean in or step back frequently, more space is helpful. This prevents strain and makes your work sessions more comfortable. Your body will thank you.
Safety Considerations
Safety is a major reason for proper workbench spacing. Clear areas prevent trips and falls. This is especially true if you use power tools or work with sharp objects. Clearances allow for quick reactions if something goes wrong.
We found that inadequate space is a common cause of minor injuries. Stubbed toes are no fun. Neither is knocking over equipment. Giving yourself room is a simple safety measure. Many guidelines stress this point (CDC).
Visualizing Your Ideal Workbench Layout
It helps to picture your workbench in its new home. Imagine yourself working. What movements do you make? Where are your tools? This visualization process is key.
The “Walk-Around” Test
Try to simulate your workflow. Stand at your bench and imagine a project. Reach for a tool. Step back. Move a piece of material. Does it feel natural? Do you bump into anything?
This mental walkthrough can reveal potential space conflicts. It’s like a dress rehearsal for your workshop. We recommend doing this before you even place your workbench.
Considering Your Workshop’s Overall Footprint
Your workbench doesn’t exist in a vacuum. It’s part of a larger workshop. Think about other equipment you might have. Are there other benches, stationary tools, or storage units?
You need to ensure clear pathways throughout the entire space. Don’t just focus on the workbench itself. The whole workshop needs to be navigable. We found that a well-laid-out workshop feels much larger.
Creating Zones for Different Tasks
You can think of your workbench area as having different zones. There’s your immediate working zone. Then there’s a zone for tool access. There’s also a zone for material staging.
Each zone requires a certain amount of clear space. Planning for these zones helps you allocate the right amount of room. It’s about smart design.
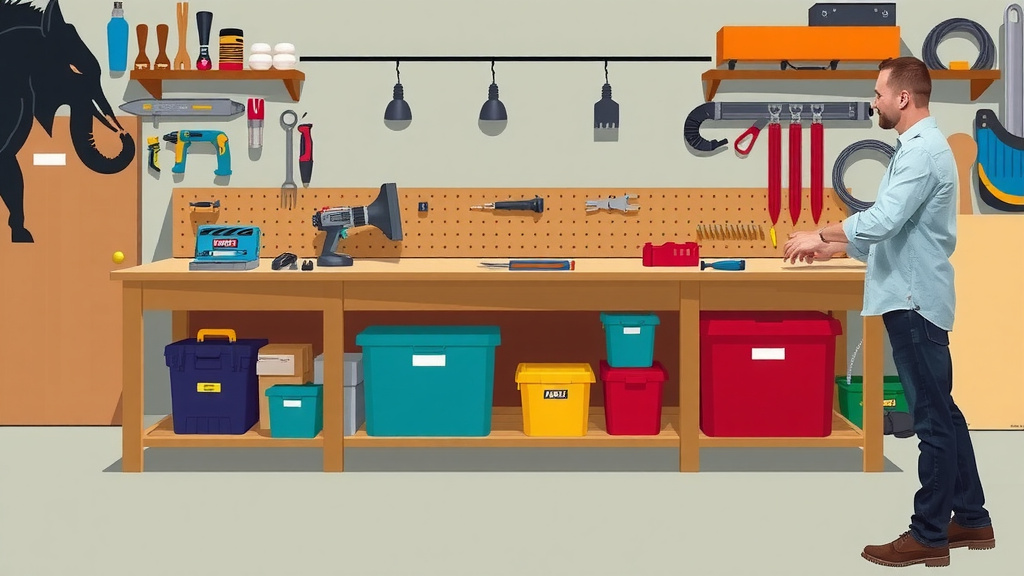
A Quick Checklist for Your Workbench Space
Here’s a simple checklist to help you gauge your needs:
- Do you have at least 3 feet of clear space on at least three sides of your bench?
- Will two people use the bench regularly? If so, do you have 4 feet or more?
- Is there enough room to open all drawers and cabinets fully?
- Can you move large materials to and from the bench without obstruction?
- Are there clear pathways to and from your tool storage areas?
- Does the space allow for safe movement and tool operation?
Conclusion
Creating enough space around your workbench is more than just a suggestion; it’s essential for a safe and productive workshop. We’ve seen how 3 feet of clearance is a good starting point, but factors like multiple users, project types, and tool storage can push that need to 4 feet or more. Don’t forget to consider how you move and your personal workflow. Take a moment to visualize your ideal setup. Then, use our checklist to ensure you’ve planned for everything. Your next step is to measure your available space and adjust your workbench placement accordingly, ensuring you have the room you need before you even start your next project.
Frequently Asked Questions
What if I only have a small garage or basement space?
If your workshop space is limited, focus on maximizing functionality within the constraints. Prioritize the 3-foot minimum clearance where possible, especially in your primary working area. Consider a mobile workbench you can tuck away when not in use to free up floor space. You might need to get creative with vertical storage to keep the floor clear.
Does workbench height affect the space I need around it?
While workbench height primarily impacts ergonomics and comfort, it can indirectly influence your space needs. A higher bench might encourage you to step back more often, so slightly more clearance could be beneficial. Conversely, a lower bench might mean you lean in closer. Always test your comfortable working distance while standing and moving around the bench.
How do I account for things like chop saws or other large tools near the workbench?
When placing larger stationary tools like chop saws or drill presses near your workbench, you need to add their operational space requirements to your overall layout. Ensure you have enough room to safely operate these tools, which often involves swinging arms or moving materials. Think of these as adding to the “clearance zones” around your main workbench.
Is 3 feet enough if I primarily do fine detail work like jewelry making?
For fine detail work, 3 feet might be sufficient for basic movement. However, consider if you need extra space for magnifiers, specialized lighting, or comfortable seating that allows you to lean in. If you often bring materials or tools close to the bench, ensure you can do so without feeling cramped. It’s always better to have a little more room than you think you’ll need.
What’s the easiest way to determine the right amount of space without moving my workbench?
You can simulate your workflow using painter’s tape on the floor. Mark out the footprint of your workbench and then add tape to represent your desired clearance zones (3 feet or 4 feet). Walk around this taped area, reaching for imaginary tools and materials, to get a feel for the space. This “walk-around test” is a low-commitment way to assess your needs before committing to a layout.