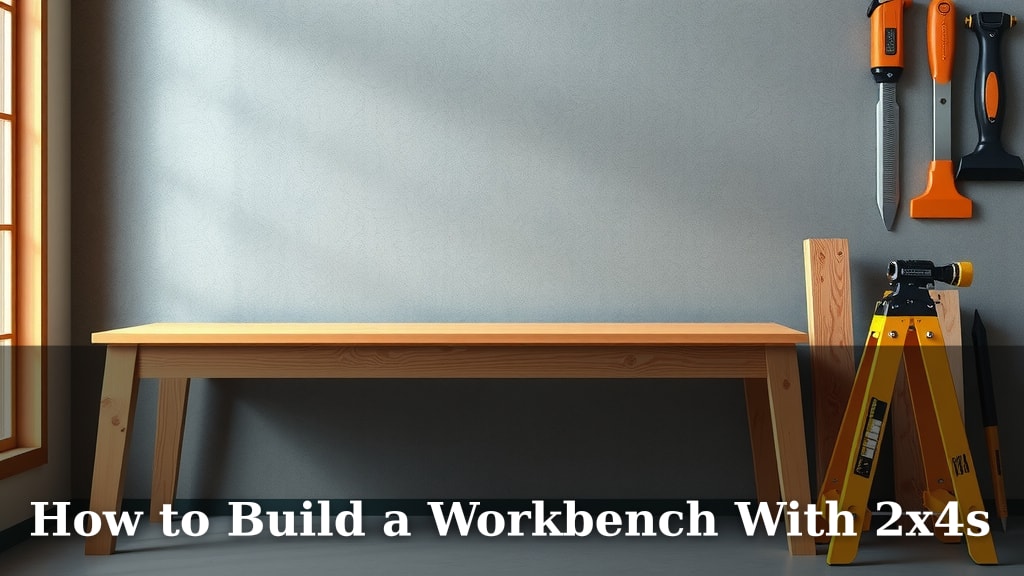
How to Build a Workbench With 2x4s
Yes, you can absolutely build a sturdy and functional workbench using 2x4s. This is a popular and cost-effective method for creating a strong workspace. You’ll have a reliable surface for all your projects.
Building with 2x4s is a fantastic choice for DIYers. It’s a simple construction that doesn’t require advanced skills. You can customize the size to fit your exact needs and space perfectly.
- Use 2×4 lumber for a strong build.
- Keep the design simple and practical.
- Measure carefully for a perfect fit.
- Attach legs securely for stability.
Let’s walk through exactly how to build your own 2×4 workbench, step by step!
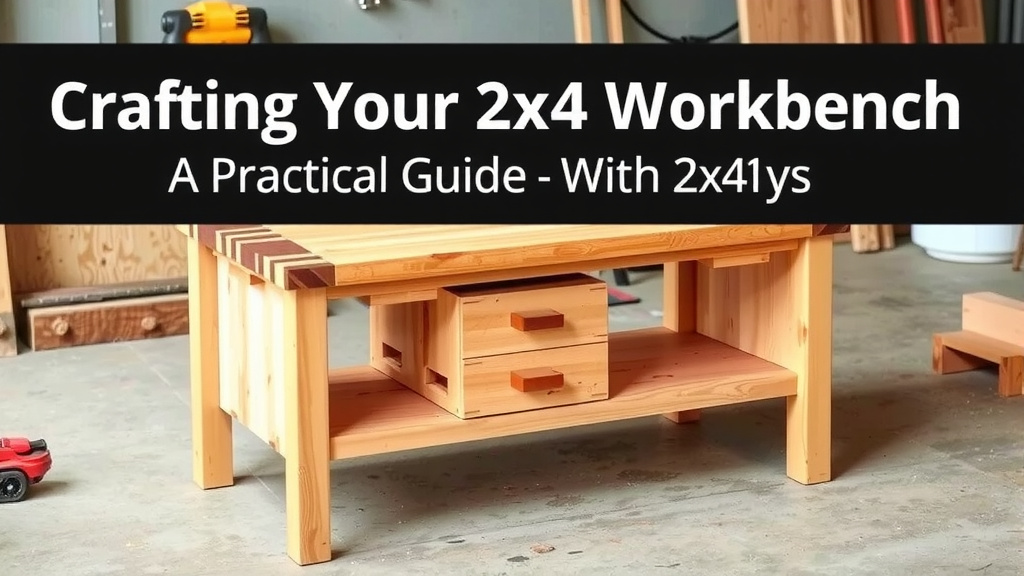
Crafting Your 2×4 Workbench: A Practical Guide
Building a workbench from 2x4s is a smart move for any DIYer. It’s a budget-friendly project that delivers a rock-solid workspace. You’ll soon have a dedicated spot for all your projects, big or small. We’ll guide you through each step.
Planning Your Workbench Design
Before you grab your lumber, let’s do a little planning. Think about where your workbench will live. How much space do you have? What kinds of projects will you be doing? These questions will help you decide on the perfect size and height.
Determining the Dimensions
A standard workbench height is usually around 34-36 inches. This is often at or slightly below the belly button. It allows for comfortable standing work. Measure the space you have available in your garage or workshop. You don’t want a workbench that’s too big or too small. Standard widths can range from 4 to 8 feet. Depth is often around 2 to 3 feet. We found that a 4-foot by 8-foot workbench is a very popular size for many home workshops.
Considering the Top Surface
For a 2×4 workbench, the top is typically made of multiple layers. The base layer often uses 2x4s for strength. The top surface can be plywood, MDF, or even more 2x4s laid flat. A double layer of 3/4-inch plywood is a common and durable choice. It creates a smooth, strong surface. It also helps distribute weight evenly.
Gathering Your Materials and Tools
Once you have your plan, it’s time to get your supplies. You won’t need a huge list of fancy tools. Most of these items are pretty standard for any DIYer.
Lumber List Essentials
Your main building material will be 2x4s. You’ll need a good number of them. The exact amount depends on your design. For a basic 4×8 foot bench, you might need around 20-30 boards. Make sure they are straight and free of large knots. You’ll also want a sheet or two of 3/4-inch plywood for the top. We found that a single 4×8 sheet of good quality plywood is usually enough for a double-layer top.
Hardware and Fasteners
You’ll need screws. 2.5-inch and 3-inch wood screws are your best friends here. They are strong enough to hold the 2x4s together securely. You might also want a box of 1.5-inch screws for attaching the plywood top. Don’t forget wood glue. A good quality wood glue adds a lot of strength to your joints.
Essential Tools for the Job
Here’s a quick rundown of what you’ll likely need:
- A measuring tape
- A pencil for marking
- A circular saw or miter saw for cutting lumber
- A drill/driver with various bits
- A square (combination or speed square)
- Safety glasses and hearing protection
- Optional: A random orbital sander for smoothing edges
Cutting Your Lumber: Precision is Key
Accurate cuts are vital for a stable workbench. Measure twice, cut once. It’s an old saying for a reason! This will save you headaches later on.
Legs and Aprons
You’ll need four legs. Most workbench legs are built using two 2x4s joined together for extra thickness. Cut four pieces for the leg pairs. Then cut pieces for the aprons. Aprons connect the legs and support the workbench top. They also add significant stability. Many designs use a front, back, and two side aprons.
Frame and Bracing
You might also want to add some horizontal bracing between the legs, about halfway down. This is often called a ‘lower shelf support’ or ‘kick plate.’ It makes the legs much more rigid. We found that adding this lower bracing makes a big difference in overall sturdiness. Cut these pieces to fit snugly between your legs.
Assembling the Workbench Frame
Now comes the fun part: putting it all together! Start with the legs and aprons. This forms the main structure.
Building the Leg Assemblies
Take two leg pieces and stand them parallel. Apply wood glue to the edge of one of the pieces. Then attach the other leg piece to it, forming an ‘L’ shape. Secure them with 3-inch screws. Drill pilot holes first to prevent splitting the wood. Repeat this for all four legs. These doubled-up legs are strong and stable.
Attaching the Aprons
Now, attach the apron pieces to the leg assemblies. The aprons should sit flush with the top of the legs. Use wood glue and 3-inch screws to join them. Make sure the frame is square as you go. A speed square is your best friend here. Check the diagonal measurements of your frame. They should be equal.
Adding the Lower Bracing
If you’re adding lower bracing, attach those pieces now. They connect the legs about halfway down. This creates a strong base. Use glue and 2.5-inch screws for these connections. This bracing prevents the legs from wobbling.
Creating and Attaching the Workbench Top
The workbench top is your main work surface. It needs to be tough and smooth.
Building the Plywood Layers
Cut your plywood to the desired dimensions for your workbench top. If you’re doing a double layer, cut two identical pieces. You can orient the grain of the plywood differently for each layer. This can add even more strength. Apply wood glue generously between the two layers. Then, screw them together using 1.5-inch screws every 6-8 inches. This creates a very solid panel.
Securing the Top to the Frame
Center the assembled top onto your workbench frame. Make sure it overhangs evenly on all sides, or as desired. Attach the top to the frame using 2.5-inch screws. Drive them down through the plywood into the aprons and legs. Pre-drilling pilot holes into the frame will make this easier.
Finishing Touches and Optional Additions
Your workbench is almost ready! A few finishing touches can make it even better.
Sanding and Sealing
Sand down any rough edges or surfaces, especially on the top. A smooth surface is safer and more pleasant to work on. You can leave the wood natural or apply a finish. A coat of polyurethane or a durable oil finish will protect the wood from spills and wear. This can also make cleanup much easier.
Adding a Shelf or Pegboard
Consider adding a lower shelf if your bracing allows. This adds storage space for tools and materials. You could also attach a piece of pegboard to the back of the workbench. This is great for hanging tools and keeping your workspace organized. Many experts suggest keeping frequently used items within easy reach (National Institute for Occupational Safety and Health).
Congratulations, you’ve built your own 2×4 workbench! You now have a sturdy, custom-built space ready for all your future projects.
Conclusion
You’ve successfully navigated the steps to build your own sturdy 2×4 workbench! Remember, a well-planned and carefully constructed workbench is more than just furniture; it’s a reliable partner for your DIY projects. By using common lumber and straightforward techniques, you’ve created a custom workspace tailored to your needs. Take pride in your new creation, and don’t hesitate to customize it further. Your next step? Clear a space in your workshop, move your tools onto your new bench, and start building something amazing!
Frequently Asked Questions
How much weight can a 2×4 workbench support?
The weight capacity of your 2×4 workbench depends heavily on your design and construction. A well-built bench, especially one with lower bracing and a solid top, can easily support several hundred pounds. We found that reinforcing the frame with extra screws and ensuring tight joints greatly increases its load-bearing capability.
Can I make my workbench mobile?
Yes, you can definitely add casters to your 2×4 workbench to make it mobile. Look for heavy-duty, locking casters rated for the approximate weight of your bench plus tools. Attach them securely to the bottom of the legs, ensuring they can support the load and provide stable positioning when locked.
What’s the best way to make the workbench top durable?
For maximum durability, we recommend a double-layer plywood top, as discussed. You can also apply a tough finish like polyurethane or an epoxy resin coating. These sealants protect the wood from spills, dents, and general wear, making cleanup much easier and prolonging the life of your workbench.
Do I need to pre-drill holes when screwing 2x4s?
Yes, pre-drilling pilot holes is highly recommended, especially when working with 2x4s. This prevents the wood from splitting, particularly near the ends. It also makes driving screws much easier and ensures a tighter, more secure connection between your lumber pieces.
Can I build a 2×4 workbench without a complex design?
Absolutely! The beauty of using 2x4s is their simplicity. You can create a very functional and sturdy workbench with a basic frame, four legs, and a solid top. Keep the design straightforward if you’re new to woodworking. Focus on strong joinery and accurate measurements for a reliable result.