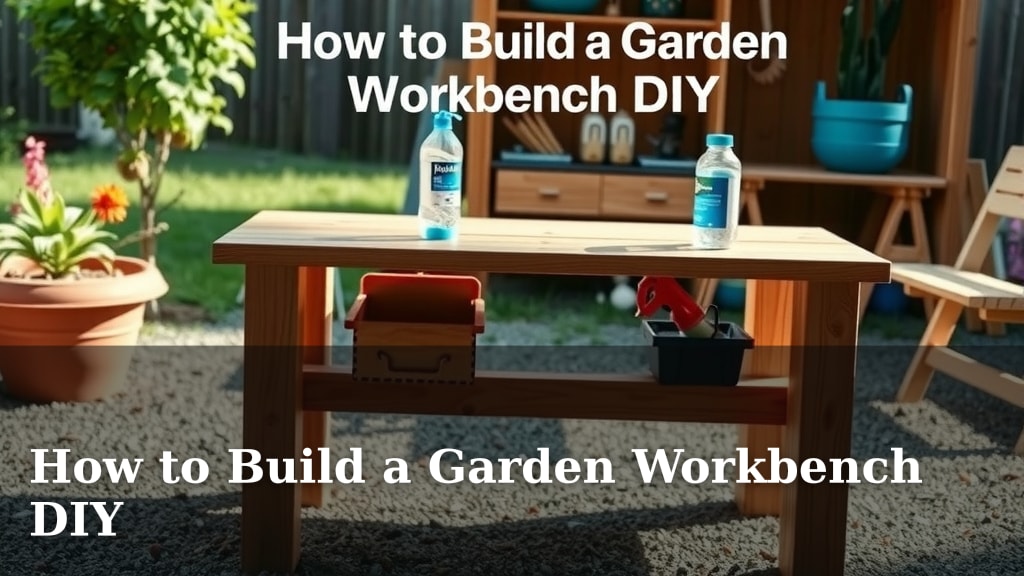
How to Build a Garden Workbench DIY
Building your own garden workbench is a rewarding DIY project that can be done with basic tools and materials. You can create a sturdy and functional workspace for your gardening tasks without needing advanced carpentry skills. A well-built garden workbench will make potting, planting, and tool organization much easier.
This project allows you to customize the size and features to perfectly suit your needs and your garden space. Many designs are available, from simple potting benches to more robust workstations. We found that using readily available lumber makes it an affordable and achievable weekend project for most homeowners.
- Plan your workbench size and design.
- Gather your lumber and hardware.
- Cut your wood pieces according to your plan.
- Assemble the frame and legs.
- Attach the tabletop and any shelves.
- Add finishing touches for weather protection.
Ready to get your hands dirty building something amazing? Let’s walk through exactly how to build a garden workbench, step by step.
Constructing Your Custom Garden Workbench
Building your own garden workbench is a fantastic project. It’s a great way to get a functional workspace tailored just for you. You’ll find this DIY build is more achievable than you might think. Let’s get started on making your garden prep easier.
Designing Your Perfect Potting Bench
Before you grab any tools, let’s talk about planning your design. Think about how you’ll use this workbench most often. Will it be for potting plants, storing tools, or maybe a bit of both? Your needs will guide the size and features.
Determining Dimensions and Features
Consider the space you have available in your garden or garage. A common height for a workbench is around 3 feet. This height is comfortable for most people when standing. You’ll want enough width and depth to work comfortably. Perhaps 4 feet wide and 2 feet deep is a good starting point. Think about storage too. Do you want shelves below? Maybe some hooks for hanging tools?
Choosing Your Materials Wisely
For a garden workbench, you need wood that can withstand the elements. Pressure-treated lumber is a great choice for outdoor projects. It resists rot and insect damage. Cedar or redwood are also good options, though they can be pricier. For the tabletop, a piece of exterior-grade plywood or even some reclaimed wood can work wonders. We found that standard 2x4s and 2x6s are readily available and easy to work with.
Hardware Essentials
You’ll need fasteners that won’t rust. Galvanized or stainless steel screws are your best bet for outdoor furniture. Wood glue adds extra strength to your joints. You might also want some sandpaper for a smooth finish. Don’t forget protective gear like safety glasses and gloves.
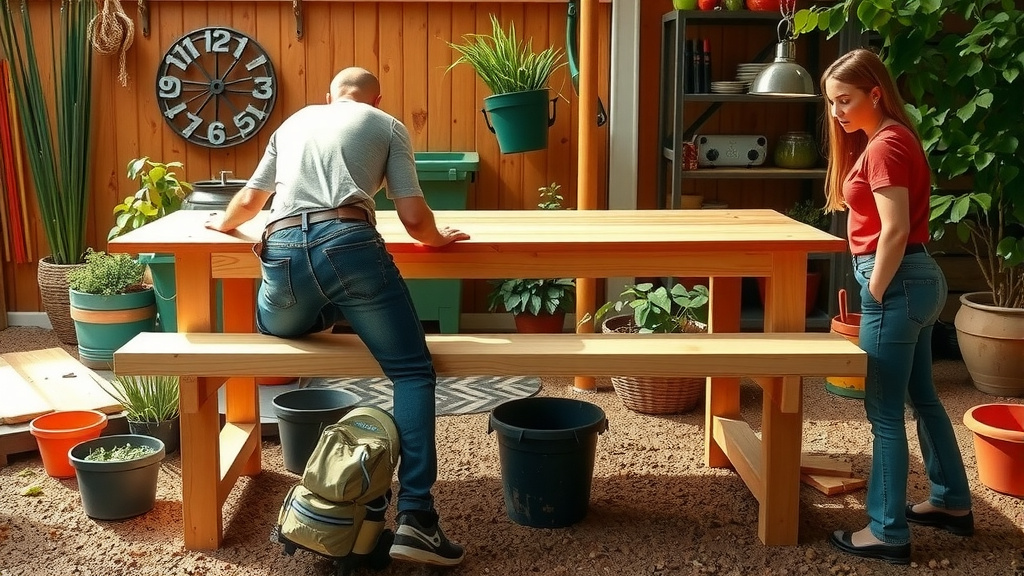
Step-by-Step Assembly Guide
Now, let’s get to the fun part: building! We’ve broken down the process into manageable steps. Follow along, and soon you’ll have your very own custom workbench.
Cutting Your Lumber
Accuracy here makes assembly much easier. Measure twice, cut once is the golden rule. You’ll need to cut pieces for the legs, frame, and shelves. If you’re unsure about making precise cuts, many home improvement stores offer cutting services. For example, you might need four leg pieces, two long side frame pieces, and two short end frame pieces.
Building the Frame and Legs
This is the foundation of your workbench. You’ll attach the side and end frame pieces to the legs to form a sturdy box. Make sure your corners are square. Many DIY plans suggest using pocket hole screws for strong, hidden joints. This makes the frame incredibly robust. We found that using a speed square helps ensure perfectly aligned 90-degree angles.
Attaching the Legs Securely
Each leg needs to be firmly attached to the frame. You can use long screws and wood glue for this. Ensure the legs are flush with the frame edges. This step is critical for stability. A wobbly workbench is no fun for anyone!
Installing the Tabletop and Shelves
Once the frame is solid, it’s time for the top. Place your tabletop material onto the frame. You can secure it with screws from underneath or through the top, depending on your desired look. If you’re adding shelves, position them within the frame and secure them with screws. Adding a lower shelf provides great storage for bags of soil or larger pots.
Adding Finishing Touches
Your workbench is almost ready! Sand down any rough edges. This protects your hands and gives a professional look. For weather protection, apply a sealant or stain. This will help your workbench last for years, even through different seasons. Think about adding a backsplash to prevent soil from falling behind the bench.
Checklist for Your Workbench Build
Here’s a quick rundown of what you’ll need and do:
- Gather all your tools and materials before starting.
- Measure and cut all your lumber pieces accurately.
- Assemble the main frame and attach the legs securely.
- Install the tabletop and any desired shelves.
- Sand down rough edges for a smooth finish.
- Apply a protective sealant or stain for durability.
Conclusion
You’ve just learned how to build a fantastic garden workbench. It’s a project that truly enhances your gardening experience. You can customize it to fit your space and needs perfectly. Remember, using the right materials like pressure-treated lumber and galvanized screws ensures durability. With careful planning and assembly, your new workbench will be a reliable workspace for years. Now, go ahead and gather your supplies to start building!
Frequently Asked Questions
How much lumber do I typically need for a standard garden workbench?
The amount of lumber varies with your design, but a common 4-foot workbench usually requires about 40-50 feet of 2x4s for the frame and legs, plus some for shelves. We found that having a little extra is always wise for mistakes or adjustments.
Can I build a garden workbench without using power tools?
Yes, you can build a garden workbench with basic hand tools like a hand saw, measuring tape, pencil, and a screwdriver. However, using a power drill can make assembly much faster and easier, especially for driving screws.
What’s the best way to protect my wooden workbench from the weather?
Applying a good quality exterior wood sealant or stain is essential. We recommend choosing a product designed for outdoor furniture that offers UV protection and water resistance. Reapplying annually will keep it looking great.
Is it okay to use regular plywood for the workbench tabletop?
For maximum durability, exterior-grade plywood or marine-grade plywood is best for outdoor workbenches. If you use standard plywood, be sure to seal it very thoroughly on all sides to prevent moisture damage.
What if my workbench feels a bit wobbly after I build it?
A slight wobble often means the legs aren’t perfectly seated or the frame isn’t completely square. Double-check that all your screws are tightened securely. Sometimes adding a diagonal brace between the legs can dramatically increase stability.