How a Bench Mortiser Works
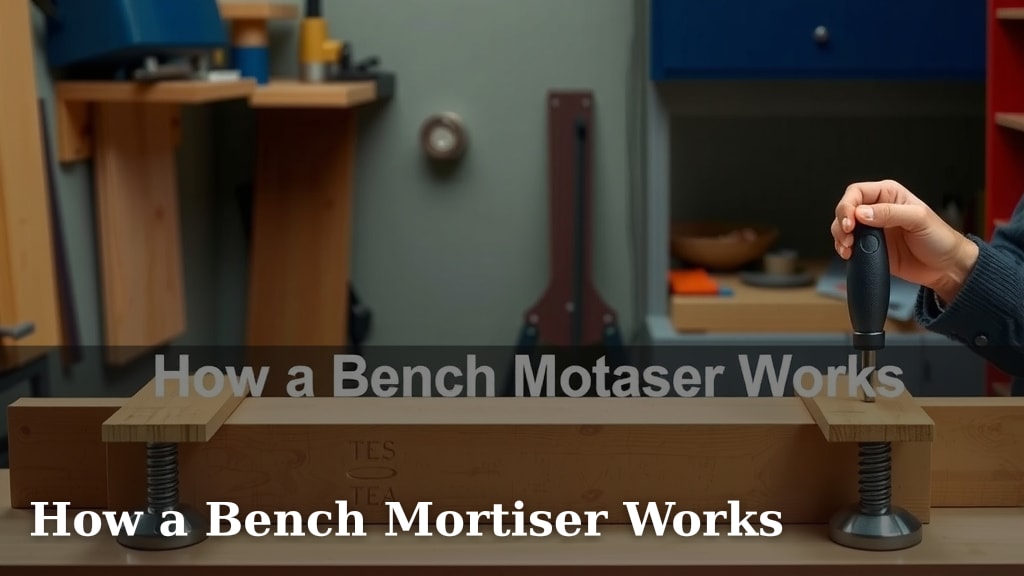
A bench mortiser works by using a hollow chisel to cut a square or rectangular hole, called a mortise, into wood. It’s essentially a drill press for mortises. The chisel is mounted on a spindle that spins while simultaneously plunging into the wood, powered by a motor, creating a clean, precise hole quickly and efficiently.
Many woodworkers find bench mortisers incredibly useful for tasks like making furniture joints. You can achieve consistent results with less effort than traditional hand tools. These machines are designed to make repetitive cuts much simpler, saving you time and preventing sore arms on big projects.
- A bench mortiser cuts square holes for wood joints.
- It uses a spinning hollow chisel and plunging action.
- This tool is great for furniture making and repetitive tasks.
- It offers speed and consistency over hand chisels.
Let’s walk through exactly how a bench mortiser does its magic so you can decide if it’s right for your workshop.
Understanding How a Bench Mortiser Works
So, you’ve heard about bench mortisers and are curious how they actually get that perfect square hole. It’s pretty clever engineering. Think of it as a specialized tool for a very specific woodworking task. We’ll break down the main components and how they all work together.
The Core Components and Their Roles
The Motor: The Powerhouse
Like most power tools, a bench mortiser needs a motor to do the heavy lifting. This motor spins the tool that actually cuts the wood. You’ll typically find these motors are electric, providing consistent power. The speed of this rotation is important for a clean cut. Faster isn’t always better here; it’s about the right balance with the chisel.
The Spindle and Chuck: Holding the Chisel
The motor’s power is transferred to a spinning shaft called the spindle. At the end of the spindle is a chuck, much like on a drill press. This is where you securely hold the hollow chisel. It needs to be a very sturdy connection because the chisel experiences a lot of force. A loose chuck would be dangerous and ineffective.
The Hollow Chisel: The Star of the Show
This is the part that does the actual cutting. A hollow chisel isn’t like a regular chisel. It’s shaped like a square or rectangular tube, with sharp edges on the inside. It doesn’t cut a round hole by itself. It carves out the wood chips. The size and sharpness of the chisel are key to the quality of your mortise. You’ll often find them in various standard sizes for different joint needs.
The Mortise Chisel Bit: The Chip Remover
Inside the hollow chisel, there’s a regular drill bit. This bit spins along with the chisel. Its job is to drill out most of the wood from the center of the mortise. Think of it as doing the bulk removal. As it spins and plunges, it loosens the wood chips. The hollow chisel then comes down and cleanly shears away the loosened wood.
The Table and Fence: Guiding Your Workpiece
The table is where you rest your wood. It needs to be stable and flat. Most bench mortisers have an adjustable fence. This fence is a guide that you push your wood against. It ensures your mortise is cut straight and in the desired location on your workpiece. The precision of the fence setup directly impacts the accuracy of your joint.
The Plunge Lever: Controlling the Depth
You control the up-and-down movement of the chisel assembly with a lever. This is often called the plunge lever. Pushing down on the lever lowers the spinning chisel into the wood. Releasing it allows it to retract. You can control the speed of this plunge to get the best results. This is a crucial part of the operation.
The Cutting Action: Step-by-Step
Setting Up Your Mortise
First, you’ll choose the correct size hollow chisel and bit. You’ll secure them firmly in the chuck. Next, you adjust the fence and the table. You want to make sure your workpiece is held securely. Many mortisers have hold-downs to keep the wood from moving during the cut. You also set the desired depth for your mortise.
The Plunge and Shear
With your wood in place, you engage the motor. The chisel bit begins to spin rapidly. You then push down on the plunge lever. The spinning drill bit bores into the wood, removing a good portion of the material. As the bit reaches its programmed depth, the hollow chisel follows. The sharp edges of the hollow chisel shear away the loosened wood fibers against the sides of the hole.
Retracting and Repeating
After the cut is made, you release the plunge lever. The chisel assembly retracts, pulling the bit and chisel back out of the wood. You are left with a clean, square mortise. For longer mortises, you might make several overlapping cuts. This is where the fence and precise adjustments are so important. You slide the workpiece along the fence for each subsequent cut, ensuring they line up perfectly.
Making it Easier: Practical Considerations
Using a bench mortiser feels quite different from hand tools. It’s much less physically demanding for repetitive tasks. We found that practice makes perfect when getting the feel for the plunge lever. It’s about smooth, controlled movements. Many woodworkers appreciate how quickly they can create multiple identical mortises for projects like case construction or chair making.
Key Features for an Effective Mortise Cut
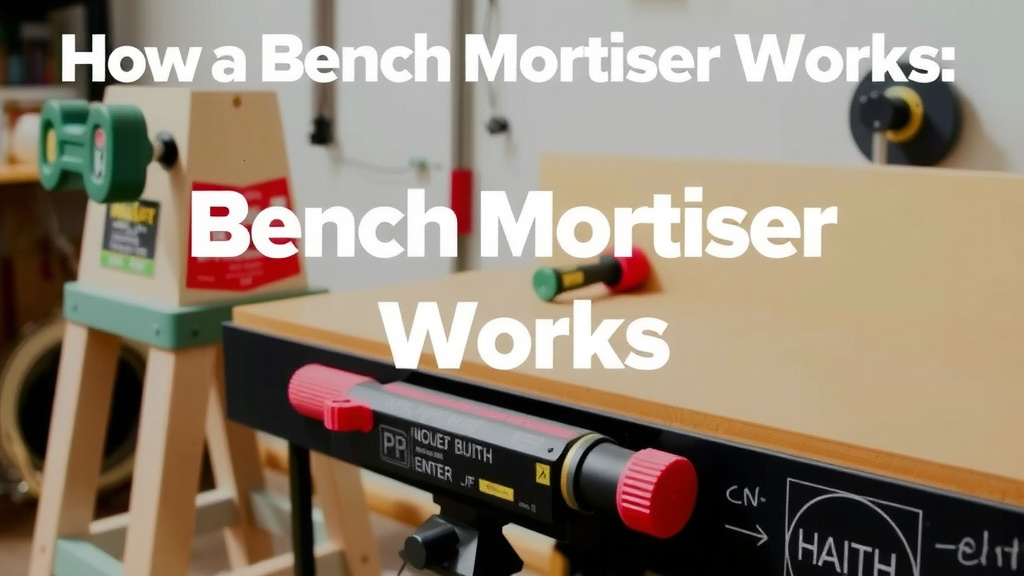
When you’re looking to buy or use a bench mortiser, keep a few things in mind. The quality of the motor matters for consistent power. A sturdy base will reduce vibration. Adjustable fence stops can help with accuracy. Also, consider the range of chisel sizes available. A good hold-down clamp is essential for safety and precision.
Tips for a Cleaner Cut
Always use sharp chisels and bits. Dull tools will splinter the wood and strain the motor. Don’t try to force the cut too quickly. Let the tool do the work. For very hard woods, you might need to make a shallower initial cut. We found that a little WD-40 on the plunge mechanism can help it move more smoothly. Many woodworkers also recommend clearing out chips frequently.
Safety First: Your Workshop Well-being
Safety is always a top priority in the workshop. Always wear eye protection when operating any power tool. Ensure the workpiece is firmly secured before you start cutting. Keep your hands clear of the spinning chisel. Understand how the tool operates before you begin. If anything feels loose or sounds strange, stop the machine immediately and investigate. Regular maintenance, like cleaning and lubricating moving parts, also contributes to safe operation.
A Quick Checklist for Your Bench Mortiser Use
- Confirm the chisel and bit are sharp.
- Securely clamp your workpiece.
- Set your desired mortise depth accurately.
- Use a smooth, controlled plunge motion.
- Clear wood chips between cuts as needed.
- Always wear safety glasses.
Conclusion
You’ve learned how a bench mortiser uses a spinning hollow chisel and drill bit to create precise square mortises. It’s a powerful tool that can dramatically speed up joinery tasks, offering consistency and ease compared to hand methods. By understanding its components and the cutting action, you can better assess if this machine fits your workshop needs. Ready to take on more ambitious projects? Consider adding a bench mortiser to your setup and experience the efficiency for yourself.
Frequently Asked Questions
How do I ensure the mortise is perfectly square?
A perfectly square mortise relies on a sharp, properly seated hollow chisel and an accurate fence. Make sure your workpiece is firmly against the fence at all times during the cut. If your mortiser has adjustable fence stops, utilize them for consistent depth and alignment across multiple cuts.
What’s the difference between a bench mortiser and a mortising attachment for a drill press?
A bench mortiser is a standalone machine designed specifically for creating mortises. A mortising attachment typically converts a standard drill press into a mortiser. While they use the same principle, dedicated bench mortisers often offer more power, stability, and a more robust design for heavier use.
Can I cut mortises in something other than furniture or basic joints?
Bench mortisers are fantastic for furniture and joinery, but their precision can be useful elsewhere. You could use them for tasks like creating precise housings for hardware, making specialized jigs, or even in smaller-scale shop projects where a clean, square recess is needed. Just ensure the material is suitable for the tool.
How often should I sharpen the hollow chisel and bit?
Sharpening frequency depends on usage and the type of wood you’re cutting. For best results and to prevent splintering, aim to sharpen regularly. A good rule of thumb is to sharpen after every few hours of intensive use or if you notice the tool starting to tear the wood rather than cut cleanly.
What kind of maintenance does a bench mortiser typically require?
Basic maintenance involves keeping the machine clean, especially around the chisel and plunge mechanism. Regularly lubricate any moving parts like the plunge lever assembly to ensure smooth operation. Always check that the chisel and bit are securely tightened before each use and inspect for any signs of wear or damage.