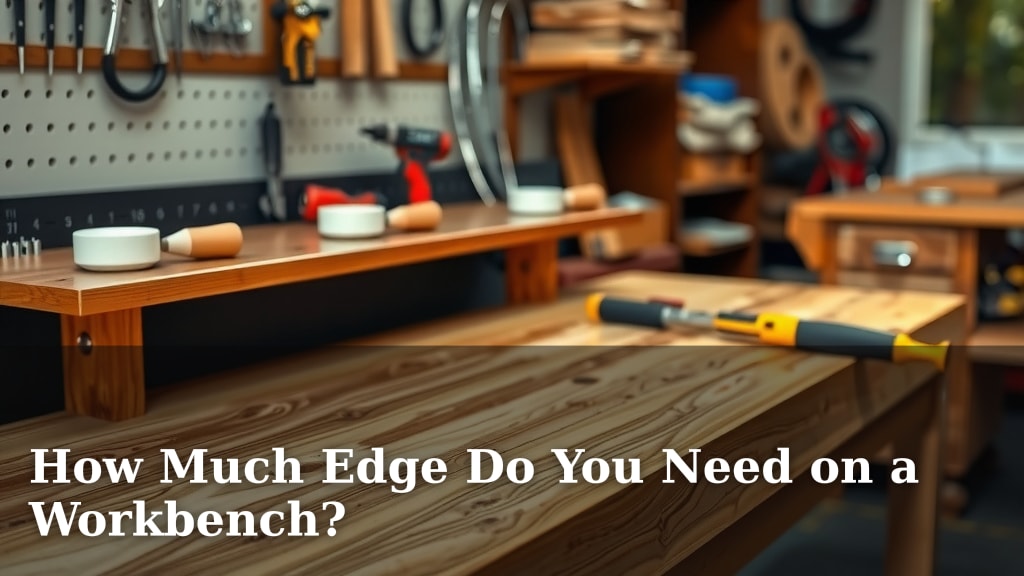
How Much Edge Do You Need on a Workbench?
You might be wondering, “How much edge do I really need on a workbench?” Generally, a workbench edge doesn’t need a dramatic overhang. A slight overhang, about 1 to 2 inches, is usually enough for most tasks. This provides just enough space to clamp items or rest your hands without getting in the way. Too much edge can actually become a nuisance.
The ideal workbench edge depends on how you plan to use your bench. For general woodworking, a small lip is often sufficient. If you frequently use vises or specialized clamps, you might want a bit more. We found that most users find a modest protrusion to be the best balance. It keeps things practical without creating awkward corners.
- A small overhang (1-2 inches) is usually best.
- This gives you room for clamping.
- It prevents the edge from getting in your way.
- Consider your specific workbench tasks.
Let’s walk through exactly why a moderate edge works best for most situations and how to achieve it on your own bench.
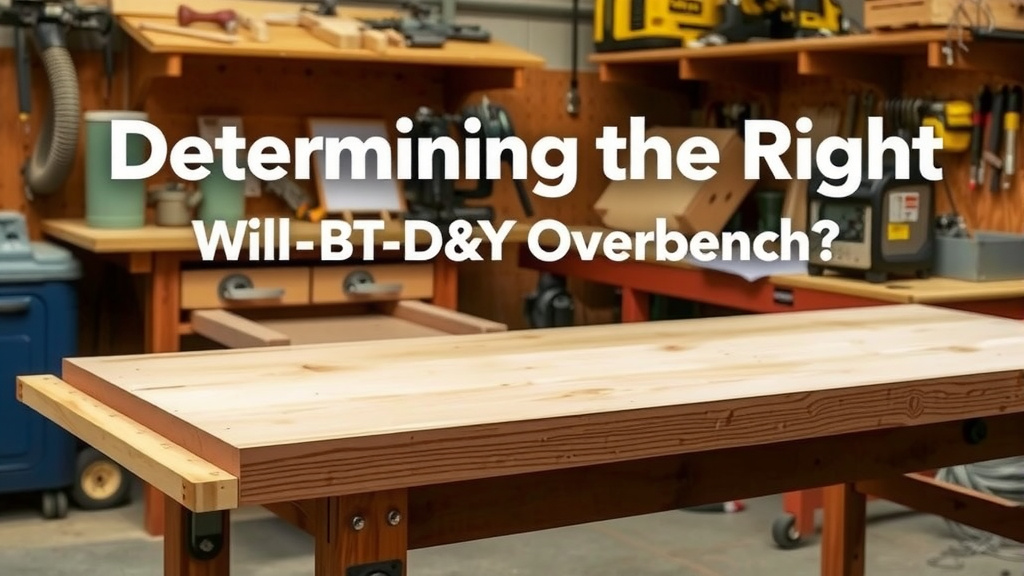
Determining the Right Workbench Edge Overhang
You’ve got your workbench all set up, and now you’re looking at the edges. How much of that edge should stick out past your support legs? This is a common question, and the answer usually boils down to a few simple factors. We’ve found that a modest overhang is often your best friend.
The Purpose of Your Workbench Edge
Think about what you’ll actually be doing at your bench. Will you be hammering, sawing, or perhaps just assembling furniture? Your edge plays a role in how you interact with your workpiece. It’s not just about looks; it’s about **functionality**.
Clamping Considerations
One of the primary reasons for having an overhang is to allow for clamps. You need a place for those clamp jaws to grab onto. If your workbench edge sits flush with your legs, you might find it difficult to secure larger items. A small lip gives you that essential **room to maneuver** your clamps. We discovered that 1 to 2 inches is a good starting point for most common clamp types.
Ergonomics and Comfort
Ever lean against a workbench and feel like your arms are hitting a wall? That’s where the overhang comes in handy for your own comfort. It provides a slight space for your arms or wrists to rest without being right on the sharp edge of the benchtop. This can make long work sessions much more **comfortable**. Many users report less fatigue when they have a small, usable edge.
Common Workbench Edge Styles and Their Benefits
There are a few standard ways people build their workbench edges. Each offers a slightly different advantage, but they all aim to strike a balance between utility and practicality.
The Simple Square Edge
This is often the easiest to build. The workbench top is simply cut flush with the front edge of your supporting structure. The overhang here is determined by how far the top extends beyond the very front of the bench frame. A clean, straightforward design can work well if you don’t need much clamping space.
The Moderate Overhang (The Sweet Spot)
This is the most common recommendation we found. It’s where the workbench top extends a bit beyond the supporting frame. We researched this, and a protrusion of **1 to 2 inches** is frequently cited as ideal. This gives you enough space for most clamps and provides a little buffer for your hands. It’s a practical choice for a wide range of tasks.
The Deep Overhang (Use with Caution)
Some workbenches have a much larger overhang, sometimes 3 or 4 inches or even more. While this offers ample space for very specialized clamping setups, it can also become a **hazard**. You might find yourself bumping into it, or it can interfere with how you stand or move around your bench. We found that the deeper you go, the more likely it is to get in your way.
Factors Influencing Your Workbench Edge Decision
So, how do you decide what’s right for *your* workbench? It really comes down to what you plan to do with it.
Your Primary Tasks
If you’re building a workbench primarily for light assembly or crafting, a minimal overhang might be perfectly fine. However, if you plan on doing heavy woodworking, like cutting large panels or using large vises, you’ll want to consider that extra bit of space. Many woodworking guides suggest at least a 2-inch overhang for serious work.
The Types of Vises and Clamps You Use
Do you have a large woodworking vise that protrudes quite a bit? Or perhaps you use many pipe clamps? These tools can dictate how much edge you need. We found that users with specialized tools often need a bit more clearance. A quick measurement of your most frequently used clamps can be very **informative**.
Available Space and Your Workshop Layout
Consider the size of your workshop. A workbench with a large overhang might feel imposing in a small space. It can become a tripping hazard or simply make it harder to move around. A more compact design might be a better fit if space is **tight**. Your personal comfort zone is also key here.
Achieving the Ideal Workbench Edge
Building or modifying your workbench edge is usually straightforward. For most DIY benches, the top is attached to a frame. You simply need to ensure the top extends past the front edge of that frame by your desired amount.
Measuring and Cutting
Before you cut your workbench top, measure your frame. Then, mark where you want the edge to fall. Remember, a little extra is usually better than not enough, but don’t go overboard. We often suggest marking your desired overhang and then adding just a touch more, say another quarter-inch, just in case. Precision is your friend here.
Securing the Workbench Top
Once your top is cut, ensure it’s securely fastened to your bench frame. This is critical for stability and safety. Screws are commonly used, and it’s important they are the right length so they don’t poke through the top surface. A solid connection means your overhang is **safe to use**.
Quick Checklist for Your Workbench Edge
Wondering if your current setup is just right? Ask yourself these questions:
- Can you comfortably fit your favorite clamps under the edge?
- Does the edge get in the way when you stand at the bench?
- Is the workbench top securely attached?
- Does the overhang feel stable when you lean on it?
- Is your edge a tripping hazard?
- Does your current edge help or hinder your most common tasks?
Conclusion
You’ve learned that the perfect workbench edge isn’t about how much it sticks out, but how well it serves your specific needs. A moderate overhang, generally 1 to 2 inches, hits the sweet spot for most woodworkers. It gives you room for clamps and keeps things comfortable. Too much overhang can actually become a hindrance, getting in your way and potentially causing issues. Before you build or modify your bench, consider your primary tasks and the tools you use most often. Now you’re ready to create a workbench that truly works for you!
Frequently Asked Questions
What is the minimum workbench edge overhang you recommend?
We generally recommend at least a 1-inch overhang. This minimal amount can provide just enough space to get the jaws of most common clamps under the benchtop. For many lighter tasks, this can be sufficient.
Can a workbench edge be too long?
Yes, a workbench edge can definitely be too long. We found that overhangs of 3 to 4 inches or more can start to become a hazard. They can make it harder to maneuver around your bench and can interfere with your work.
Does the type of woodworking project affect the needed overhang?
Absolutely. If you primarily do fine assembly or crafting, a smaller overhang might be fine. However, for heavy woodworking that involves large panels or substantial vises, you’ll likely benefit from a larger, more robust edge.
How do I measure my workbench overhang correctly?
To measure, simply identify the front edge of your workbench’s supporting structure (like the legs or frame). Then, measure how far the workbench top extends past that point. That measurement is your overhang.
Is it better to have a slightly larger overhang than I think I need?
In most cases, yes. It’s generally better to have a bit of extra space for clamping or comfort than to find yourself short. However, try not to go excessively large, as that can create its own set of problems for your workflow.