How a Bench Planer Works
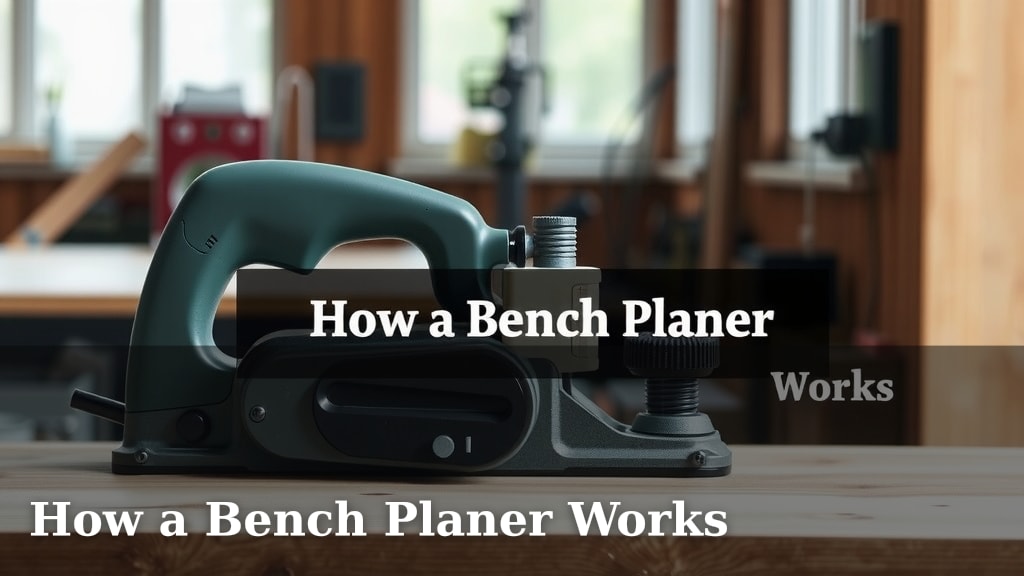
A bench planer works by using a set of rotating blades to shave thin layers off a piece of wood. This process flattens and smooths the surface, making it perfectly parallel and flat. It’s an essential tool for woodworkers who need precise dimensions for their projects, turning rough lumber into beautifully finished pieces.
When you feed wood into a bench planer, the machine takes over. It ensures your wood becomes the exact thickness you need. This tool is a real time-saver for anyone working with wood. It’s also key for getting that smooth, furniture-grade finish you’re probably after.
TL;DR:
- Bench planers flatten and smooth wood.
- They use rotating blades to shave off layers.
- This ensures wood is a consistent, precise thickness.
- It’s vital for achieving flat surfaces and smooth finishes.
Ready to see how this magic happens? Let’s walk through exactly how a bench planer works step by step.
Understanding How a Bench Planer Works
A bench planer is your secret weapon for achieving perfectly smooth and consistently sized lumber. It’s a machine that takes rough-sawn boards and transforms them into pieces ready for assembly. You might be wondering how this magic actually happens. It’s a clever mechanical process designed for precision and speed.
The Core Components: What’s Inside?
At its heart, a bench planer has a few key parts that work together. The main player is the cutter head. This is a cylinder that holds sharp knives. These knives spin at a very high speed. Below the cutter head is a feed mechanism. This part pulls your wood through the machine. There’s also an adjustment mechanism for setting the depth of cut. Finally, there’s a sturdy base or stand.
The Cutter Head: The Business End
The cutter head is where the action really happens. It’s a metal cylinder, often with multiple sharp blades mounted in a spiral pattern. These blades are set at a slight angle. As the head spins rapidly, the blades strike the wood. They shave off a very thin layer. This controlled removal is what smooths and flattens your wood.
The Feed Rollers: The Wood’s Chauffeur
To get the wood through the planer, you rely on feed rollers. There are typically rollers both before and after the cutter head. These rollers grip the wood. They then pull it steadily through the machine. This consistent feed rate is crucial. It ensures an even cut across the entire board. You don’t want jerky movements here!
The Height Adjustment: Setting the Thickness
Every bench planer has a way to adjust how much wood is removed. This is usually a crank or a dial. Turning it raises or lowers the table. The closer the table is to the cutter head, the thinner the shaving. You’ll set this based on your desired final thickness. Precise adjustments mean your wood will be exactly the size you need.
The Planing Process: Step-by-Step
So, how does a board go from rough to ready? Let’s break down the journey.
Step 1: Setting Up Your Planer
First, you’ll want to make sure your planer is set up correctly. Check that the knives are sharp and properly installed. We found that dull knives can tear wood rather than cut it cleanly. Next, set your desired thickness. Many planers have a gauge or indicator for this. It’s a good idea to measure your lumber first. Know its current thickness and its target thickness.
Step 2: Making the Initial Pass
You’ll place your wood on the infeed side of the planer. Make sure it’s sitting flat on the table. Then, you’ll engage the feed rollers. They’ll grab the wood and pull it towards the spinning cutter head. As the wood passes over the cutter head, the knives slice off a thin layer. This is the first “planing” action. You’ll hear the satisfying sound of wood being shaved.
Step 3: Subsequent Passes for Precision
Often, a single pass isn’t enough to reach your exact dimension. You might need to make several passes. After the first pass, retrieve the wood from the outfeed side. You can then turn the height adjustment crank. Lower the table slightly to take another thin shaving. Repeat this process, making passes and adjusting the height, until your wood reaches the target thickness. Many woodworkers advise taking off no more than 1/8 inch per pass. This prevents stressing the wood and the machine (Woodworking Journal).
What Makes the Surface Smooth?
The smooth finish is a direct result of the high-speed cutting action. Imagine a very sharp knife moving incredibly fast. It slices through the wood fibers cleanly. This leaves behind a surface that is much smoother than any saw blade can produce. Think of it like slicing butter versus trying to scrape it off. The planer slices, it doesn’t scrape.
Key Benefits of Using a Bench Planer
Beyond just smoothing, a bench planer offers several advantages for your projects.
Achieving Parallel Surfaces
One of the most critical functions is making wood surfaces parallel. When lumber is milled, one face might not be perfectly parallel to the other. A planer corrects this. You can flatten one face, then use that as a reference. This ensures your boards have consistent thickness from edge to edge. This is vital for making strong glue joints and stable furniture (Fine Woodworking Magazine).
Consistent Thickness for Projects
When you’re building something, consistency is key. If you’re making a tabletop, all the boards need to be the exact same thickness. A planer guarantees this. You set your desired thickness, and all the boards that pass through will match. This saves you endless measuring and sanding. It’s a huge time-saver for any woodworking project.
Preparing for Joinery and Assembly
Smooth, flat, and parallel surfaces are essential for good joinery. When you’re gluing up panels or cutting joints, tight fits are crucial. A rough or uneven surface will create gaps. These gaps weaken your work and look bad. The planer ensures your wood is ready for precise cuts and strong bonds.
Checking Your Work: A Quick Checklist
After planning, take a moment to verify your results:
- Is the wood the exact thickness you intended?
- Do the surfaces feel smooth to the touch?
- Are the faces parallel to each other?
- Are there any signs of tear-out or burning?
- Does the board feel uniformly flat?
Conclusion
You’ve learned how a bench planer transforms rough lumber into perfectly flat, smooth, and consistently sized wood. This essential tool uses high-speed rotating blades to shave off thin layers, ensuring your pieces are parallel and ready for assembly. Remember, consistent passes and precise adjustments are key to achieving those furniture-grade results you’re aiming for. Now that you understand the process, it’s time to put your knowledge into practice. Start by selecting a simple project and take that first board to your planer!
Frequently Asked Questions
How much wood can I safely remove in one pass?
We found that taking off no more than 1/8 inch per pass is a common recommendation. Removing too much at once can stress your wood and the planer itself. It can also lead to a rougher finish.
What’s the difference between a bench planer and a jointer?
A jointer creates a perfectly flat *face* and a perfectly square *edge* on a board. A bench planer then takes that flat face and makes the opposite side parallel and the desired thickness.
Can a bench planer fix warped wood?
A bench planer can help flatten slightly warped boards, especially if you use a jig. For severely warped wood, a jointer is typically the first step to get a reference surface.
How do I know when my planer knives are dull?
You’ll notice increased tear-out, fuzziness, or a generally rougher finish on your wood. You might also hear the planer struggling or making a different sound than usual.
Is a bench planer noisy?
Yes, bench planers can be quite loud. We always recommend wearing hearing protection when operating one. It’s also a good idea to work in an area where noise won’t disturb others.