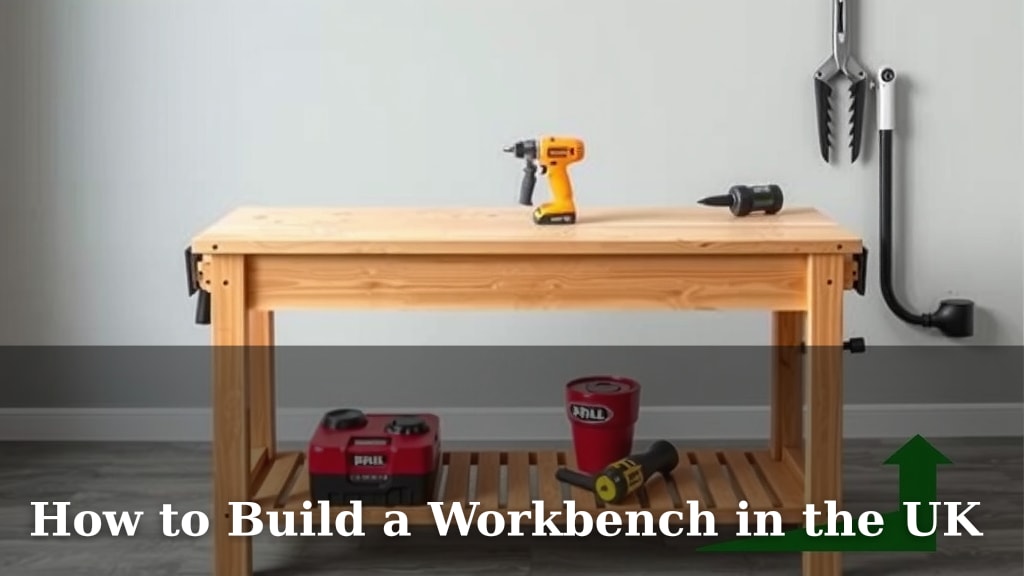
How to Build a Workbench in the UK
Building your own workbench in the UK is a rewarding DIY project. You can create a sturdy and functional workspace tailored to your needs. This guide will walk you through the essential steps to get your project started.
A well-built workbench makes any workshop setup much better. It provides a solid surface for all your projects. We found that planning your design and choosing the right materials are key to success. Think about the size and features you’ll need for your specific tasks.
- Plan your workbench design carefully.
- Gather all your necessary tools and materials.
- Consider the best location for your workbench.
- Follow simple step-by-step instructions.
Let’s walk through exactly how to build a workbench in the UK, step by step, so you can get started on your DIY journey.
Your Guide to Building a UK Workbench
Building your own workbench in the UK is a fantastic DIY project. You’ll create a robust workspace that fits your needs perfectly. This guide will help you through each step. We’ll cover everything from planning to putting the final touches on your new workbench.
Planning Your Workbench Project
Before you even pick up a saw, smart planning is key. Think about what you’ll be doing at your workbench. Will you be doing heavy woodworking, delicate electronics repair, or something else entirely? Your intended use will dictate the size, height, and features your workbench needs.
Determining the Right Size and Height
Standard workbench heights often fall between 33 to 36 inches. However, many experts suggest adjusting this to your personal ergonomic comfort. You should be able to stand or sit comfortably without straining your back or shoulders. Measure your typical working posture. How high should the bench be for you to work most comfortably? We found that a height of around 35 inches often works well for many people doing general tasks.
When it comes to size, consider the space you have available. A typical workbench might be around 4 to 6 feet long and 2 to 3 feet deep. If you have a smaller garage or shed, you might need a more compact design. Conversely, a larger workshop can accommodate a more substantial workbench. Don’t forget to think about workbench storage needs too. Do you need shelves or drawers?
Choosing Your Materials Wisely
The materials you choose will directly impact the durability and cost of your workbench. For the main structure, strong, stable timber is a popular choice. Many UK DIYers opt for planed joinery grade timber. This is readily available at most local builders’ merchants. Common timber sizes like 4×2 inches (100x50mm) or 3×2 inches (75x50mm) are excellent for framing.
For the workbench top, you have a few options. A thick layer of plywood is common. You could also use MDF (Medium-Density Fibreboard) for a smoother surface, but it’s less durable against moisture. Many builders recommend a doubled-up plywood top for extra strength. For serious woodworking, a butcher block or a solid wood top might be considered, though these are more expensive. We found that two layers of 18mm or 25mm plywood create a very sturdy surface (DIY Building Magazine).
| Material | Pros | Cons |
|---|---|---|
| Joinery Grade Timber (e.g., Pine) | Strong, stable, widely available, affordable | Can be heavy, requires sealing against moisture |
| Plywood (multiple layers) | Durable, stable, good for workbench tops | Edges can be rough, needs sealing |
| MDF | Smooth surface, easy to work with | Less durable, susceptible to water damage, heavy |
Gathering Your Tools and Supplies
Having all your tools ready before you start is a real time-saver. You’ll need some basic woodworking tools. A reliable tape measure is essential for accurate cuts. A spirit level will ensure your workbench is perfectly flat and stable. You’ll also need a saw – a handsaw is doable, but a circular saw or mitre saw will make cutting timber much faster and more precise.
For assembly, you’ll need a power drill with appropriate drill bits. Wood screws are the primary fasteners. Consider using wood glue for added strength at the joints. Safety gear is non-negotiable. Always wear safety glasses to protect your eyes. Gloves are also a good idea to prevent splinters. A dust mask is important when cutting or sanding, especially if working with MDF (Health and Safety Executive).
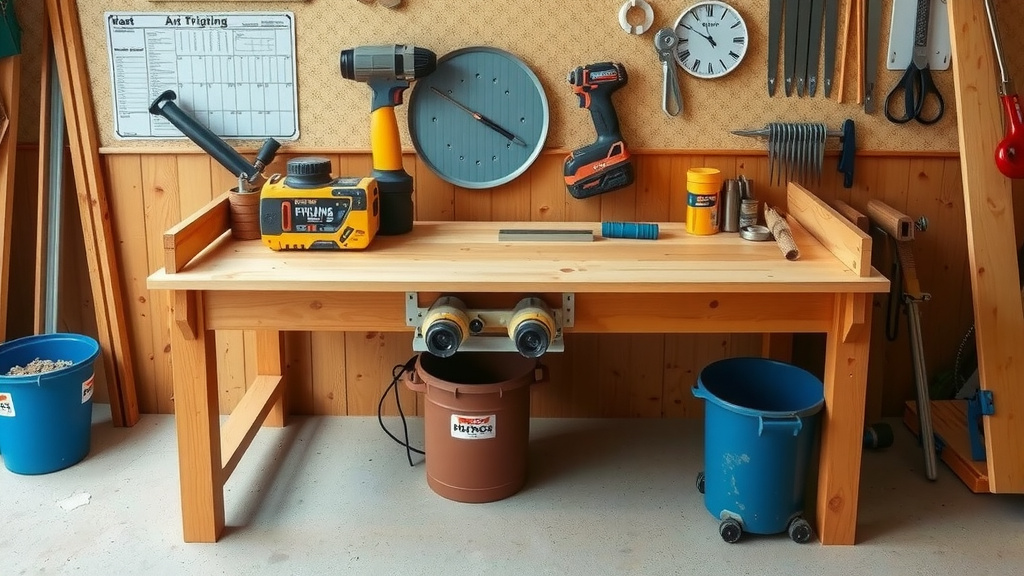
Step-by-Step: Building Your Workbench
Let’s get to the construction! We’ll break this down into manageable steps. Remember, patience is your friend here. Taking your time ensures a better, safer result.
Constructing the Base Frame
Start by cutting your main timber pieces for the legs and the frame. You’ll typically build two rectangular frames for the sides and connect them with crossbeams. Measure twice, cut once! This is where your accurate measurements are vital. Assemble the frames using wood screws. Pre-drilling pilot holes can prevent the timber from splitting, especially near the ends. Many DIY guides suggest using longer screws for structural joints.
Attaching the Workbench Top
Once your base frame is sturdy and square, it’s time for the top. If you’re using multiple layers of plywood, attach the first layer to the frame. Ensure it’s flush with the edges. Then, glue and screw the second layer on top. This doubling-up technique provides exceptional strength and a nice thick work surface. You can sand the edges smooth for a professional finish.
Adding Stability and Features
Consider adding a lower shelf or bracing between the legs for extra stability. This brace also provides a useful spot for storing materials or tools. If you plan on mounting a vice or other tools, ensure the workbench top is thick enough or reinforced in those areas. Some builders add a sturdy back panel for additional rigidity and to prevent items from falling off the back.
Finishing Touches
Once the main structure is complete, you might want to seal the timber. A few coats of varnish or paint will protect your workbench from spills and general wear and tear. This is especially important if you plan to use it outdoors or in a damp environment. A light sanding between coats will give a smoother finish. Ensure all screws are countersunk so they don’t snag your work.
Essential Workbench Checklist
Here’s a quick rundown to make sure you’re ready:
- Design plan is finalised.
- All timber and sheet materials are cut to size.
- Required screws, glue, and fasteners are on hand.
- Essential tools (saw, drill, tape measure, level) are ready.
- Safety gear (glasses, gloves, mask) is available.
- Workbench location is clear and prepared.
Following these steps will help you build a workbench that is both functional and durable. You’ll have a great workspace for years to come!
Conclusion
You’re now equipped with the knowledge to build your own robust workbench right here in the UK. We’ve covered planning your design, selecting the right timber and materials, gathering your tools, and walking through the construction steps. Remember, a well-planned workbench is a joy to work at. It’ll serve you for countless projects. Don’t rush the process; take your time and enjoy the build. Your next step is to finalise your design and head to your local builders’ merchant to gather your supplies. Happy building!
Frequently Asked Questions
What’s the best type of wood for a UK workbench top?
For most DIYers in the UK, a doubled-up plywood top is an excellent choice. We found that using two layers of 18mm or 25mm moisture-resistant plywood provides exceptional strength and durability for general tasks. You can also sand the edges smooth for a cleaner look.
How high should my workbench be?
The ideal workbench height is personal and depends on your ergonomics. While a common range is 33-36 inches, we recommend standing in your typical working posture and measuring to find what feels most comfortable for your back and shoulders.
Can I build a workbench with basic hand tools?
Yes, you can build a workbench with basic hand tools, but it will take longer and require more effort. A handsaw, tape measure, spirit level, and a manual screwdriver are the minimum. However, a power drill and circular saw will greatly speed up the process and improve accuracy.
How do I make my workbench more stable?
Adding a lower shelf or diagonal bracing between the legs is a highly effective way to increase stability. These braces connect the legs and the frame, reducing any wobble. Ensure all your joints are securely fastened with screws and wood glue.
What safety gear do I absolutely need?
Safety is paramount when building. You must always wear safety glasses to protect your eyes from sawdust and debris. Gloves are recommended to prevent splinters, and a dust mask is essential, especially when cutting or sanding wood or MDF.