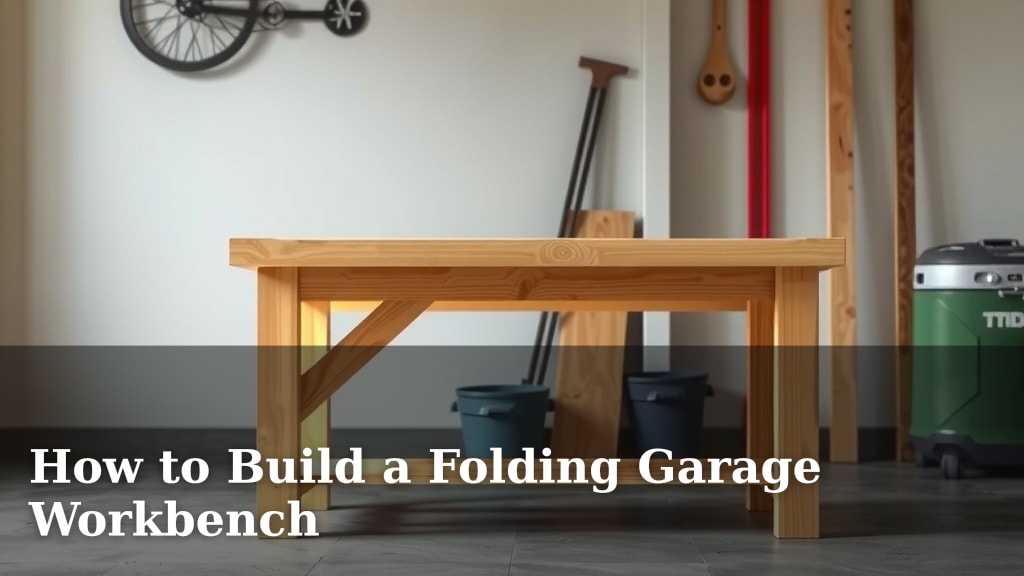
How to Build a Folding Garage Workbench
Building a folding garage workbench is a smart way to maximize your workspace. You can create a sturdy work surface that disappears when you don’t need it. This DIY project is more achievable than you might think, even if you’re not a master builder.
A folding workbench is ideal for smaller garages or workshops. It offers a functional space for projects without taking up permanent room. Think of it as a helpful assistant that’s there when you need it and out of the way when you don’t. Many homeowners find this solution incredibly practical for various tasks.
- Choose a simple folding design.
- Gather your tools and materials.
- Measure and cut your wood accurately.
- Assemble the frame and top.
- Install the folding mechanism.
- Attach it securely to your garage wall.
Ready to reclaim your garage space? Let’s walk through exactly how to build your very own folding workbench, step by step.
Creating Your Foldable Garage Workbench
Building a folding workbench can transform your garage. You get a solid work surface when needed. Then, it tucks away neatly. This project offers a great solution for limited space. It’s a practical addition to any home workshop or garage. You’ll wonder how you lived without it.
Planning Your Workbench Design
Before you cut any wood, a little planning goes a long way. Think about the size and height you need. Measure the space where you’ll use it most. Also, consider where it will fold and store. A standard height for a workbench is around 36 inches. This makes it comfortable for most people to stand and work.
Choosing a Simple Folding Mechanism
The folding mechanism is key. Many designs use simple hinges and L-brackets. Some people opt for more advanced hardware for a smoother fold. For a beginner, a basic hinge system is often best. It’s reliable and easy to install. Research different folding bracket types online. You’ll find options suited for various weight capacities.
Essential Tools You’ll Need
Gathering your tools upfront saves time. You’ll need a tape measure for accuracy. A pencil marks your cuts. A saw, either a circular saw or a miter saw, is essential for cutting wood. You’ll also need a drill and drill bits for pilot holes and screws. Don’t forget safety glasses; they are non-negotiable.
- Tape measure
- Pencil
- Safety glasses
- Drill and drill bits
- Circular saw or miter saw
- Level
Gathering Your Materials
Most folding workbenches use common lumber. Plywood is excellent for the tabletop. You’ll need a sheet of 3/4-inch plywood for a sturdy top. For the frame and legs, 2x4s are a popular choice. They are strong and affordable. Screws, hinges, and L-brackets will complete your hardware list. The type of wood screws you use matters. We found that #8 x 1.5-inch wood screws work well for most joints.
| Material | Purpose | Suggested Size/Type |
|---|---|---|
| Plywood | Workbench Top | 3/4-inch thick (birch or oak veneer for durability) |
| 2×4 Lumber | Frame and Legs | Standard construction grade |
| Wood Screws | Assembly | #8 x 1.5-inch and #8 x 2.5-inch |
| Heavy-duty Hinges | Folding Mechanism | Steel, rated for workbench weight |
| L-Brackets | Support and Stability | Steel, 2-inch or larger |
Cutting Your Wood Pieces
Accuracy here prevents future headaches. Measure twice, cut once. This old adage is especially true for DIY projects. Your cuts need to be square and precise. This ensures your workbench folds and locks properly. If you’re new to cutting, take your time. Many online resources show how to make straight cuts with a circular saw.
Cutting the Workbench Top
Decide on the dimensions for your tabletop. A common size is 4 feet long by 2 feet wide. Mark these dimensions clearly on your plywood sheet. Use a straight edge or a guide to ensure a clean, straight cut. Don’t forget to account for any overhang you might want.
Cutting the Frame and Legs
The frame provides the support. You’ll likely cut 2x4s to create a rectangular frame. The legs need to be cut to your desired height. Remember to account for the thickness of the tabletop. Also, factor in the height of the hinges and any mounting hardware. If you want your workbench at 36 inches, cut your legs slightly shorter than that.
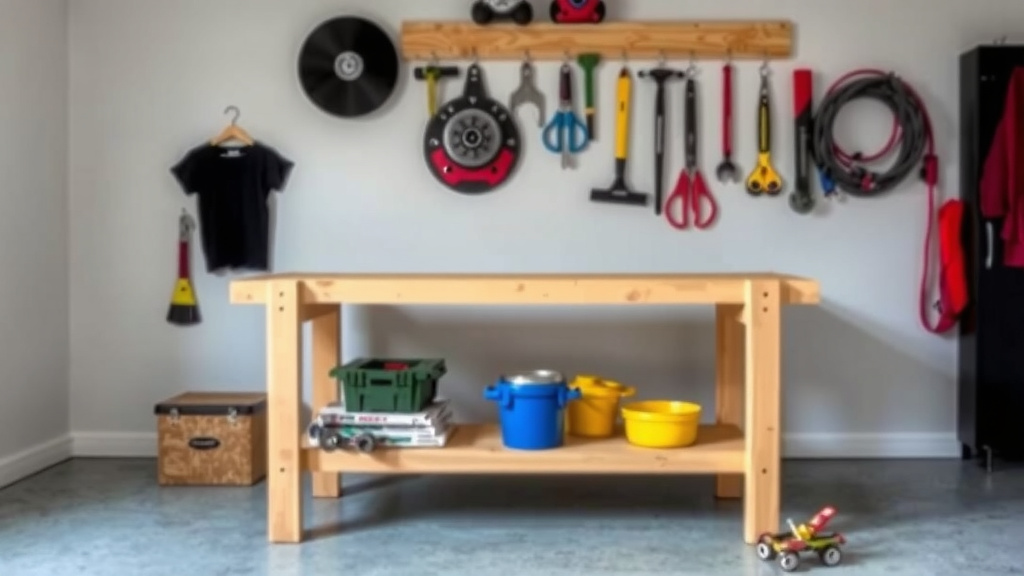
Assembling the Workbench
Now, let’s bring it all together. Start with the frame. Assemble the 2×4 frame first. Make sure the corners are square. Use wood screws to join the pieces. Pre-drilling pilot holes helps prevent the wood from splitting. This is a critical step for durability.
Attaching the Top to the Frame
Once your frame is sturdy, attach the plywood top. Align the plywood carefully with the frame. You want an even overhang on all sides, if desired. Secure the top using wood screws. Drive them through the plywood into the 2×4 frame. Space the screws about every 6 to 8 inches for a strong bond.
Constructing the Folding Legs
The legs will attach to the frame and swing down. You might create a U-shaped leg assembly. This needs to be strong enough to support weight. Consider adding cross-braces to the legs for extra stability. Many designs have legs that fold inward or outward.
Installing the Folding Mechanism and Wall Mount
This is where your workbench starts to shine. Attaching the folding hardware correctly is important. You’ll attach hinges to the top of the legs and the frame. For the wall mount, you need a sturdy support. Many designs use a cleat system. This is a strip of wood attached to the wall. Your workbench then hooks onto this cleat.
Securing the Workbench to the Wall
This step is vital for safety. Your workbench needs to be attached to wall studs. Use a stud finder to locate them accurately. Use heavy-duty lag screws to secure the mounting cleat. This ensures your workbench can handle the weight of your projects. Many experts recommend using at least two lag screws per stud. (Building codes often dictate safe mounting practices).
Testing and Final Adjustments
Before you load it up, test the folding action. Does it open and close smoothly? Does it feel stable when locked in place? Make any necessary adjustments to hinges or brackets. A little fine-tuning ensures a safe and functional workspace. If anything feels wobbly, reinforce it.
Here’s a quick checklist to ensure you’re on the right track:- Confirm your measurements and cuts.
- Ensure all frame joints are square and secure.
- Test the folding mechanism before wall mounting.
- Locate wall studs accurately for mounting.
- Use appropriate hardware for a safe connection.
- Check for stability after installation.
Conclusion
You’ve now got a clear roadmap to building your own folding garage workbench. By following these steps, you’ve learned how to plan, cut, assemble, and safely mount a functional workspace. This project isn’t just about building furniture; it’s about creating a more organized and efficient garage. Imagine the possibilities with a sturdy surface that appears when you need it and disappears when you don’t. So, gather your materials and start building – your garage will thank you for it!
Frequently Asked Questions
How much weight can a typical folding garage workbench support?
The weight capacity depends heavily on your design and materials. Using sturdy 2x4s for the frame and legs, and properly securing the mounting cleat to wall studs, can allow your workbench to support 100-200 pounds or more. We found that heavier-duty hinges and L-brackets also contribute to a stronger build.
What’s the best type of wood for the workbench top?
For durability and a smooth working surface, a 3/4-inch thick plywood is an excellent choice. Birch or oak veneer plywood offers added strength and a cleaner look. If you plan on doing heavy-duty woodworking, you might consider layering two sheets of plywood for extra thickness and resilience.
Can I make the workbench a different height?
Absolutely! The height is customizable to your needs. When cutting your legs, simply adjust the length to match your preferred working height, keeping in mind the thickness of your tabletop and mounting hardware. Remember to measure from the floor to where your hands will rest comfortably during tasks.
What if my garage walls aren’t solid studs?
If you have drywall over plaster or concrete walls, you’ll need to use appropriate heavy-duty anchors or mounting hardware designed for your specific wall type. Mounting directly into concrete might require masonry anchors. Always consult the hardware manufacturer’s weight ratings and installation instructions for safety.
How do I ensure the workbench stays locked in the open position?
Many folding workbench designs incorporate simple locking mechanisms. This could be a sturdy L-bracket that braces against the wall, a simple pin that slides into place, or even just the natural friction of the hinges if they’re tight enough. Some designs use specialized folding leg brackets that lock automatically.