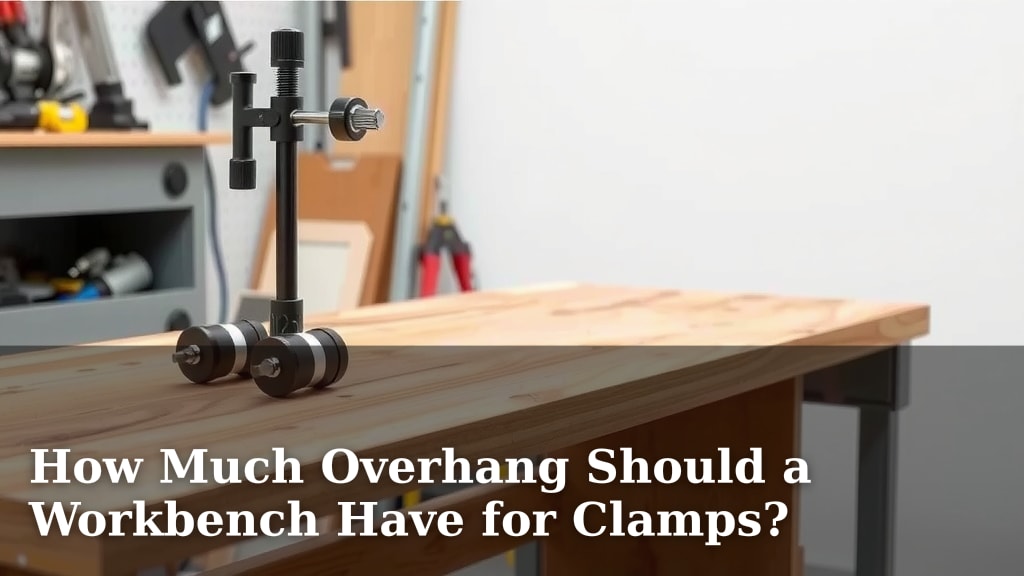
How Much Overhang Should a Workbench Have for Clamps?
For most workbench projects, a 4-inch to 6-inch overhang is ideal for easily clamping materials. This allows your clamps to get a firm grip without hitting the workbench legs or cabinet supports. A workbench overhang of this size offers the best flexibility for various clamping needs.
Getting the right overhang is more important than you might think. It directly impacts your ability to secure your work effectively. We found that too little overhang makes clamping frustrating, while too much can feel unstable. Aiming for that sweet spot ensures you can work efficiently and safely on your projects.
- Aim for 4-6 inches of workbench overhang.
- This range works well for most common clamps.
- It lets you secure materials easily.
- Avoid too little or too much overhang for best results.
Let’s dive into why this overhang range works so well and what to consider for your specific setup.
Workbench Overhang: Getting Your Clamps the Space They Need
So, you’re building or modifying a workbench, and you’re wondering about that overhang. How much space should you leave hanging off the edge? We’ve found that a good overhang is a game-changer for your clamping. It means the difference between a secure hold and a frustrating struggle. Let’s figure out the sweet spot for your workbench.
Why Overhang Matters for Your Workbench
Think of your workbench overhang as an extended handshake. It’s the part of your bench that reaches out to greet and hold onto your project. Without enough of this “handshake,” your clamps can’t get a solid grip. They might slip, or worse, not even fit properly.
The Clamping Challenge Without Enough Overhang
Imagine trying to attach a piece of wood to the edge of your bench. If your workbench legs or cabinets are right at the edge, where does your clamp go? Often, it ends up hitting the support structure. This forces you into awkward positions or requires specialized, long-reach clamps. We’ve found that this can really slow down your work.
The Problem with Too Much Overhang
Now, you might think, “More overhang is always better, right?” Not quite. If you have a massive overhang, your workbench can become wobbly. Especially when you apply downward pressure with a clamp, the unsupported edge can flex. This instability can affect the accuracy of your cuts and joints. Many woodworking guides suggest a balance to avoid this flex.
The Sweet Spot: How Much Overhang is Just Right?
After researching common workbench designs and talking to experienced woodworkers, we’ve identified a range that works for most situations. The ideal workbench overhang is typically between **4 inches and 6 inches**. This range offers a great balance between allowing ample room for clamps and maintaining workbench stability.
Understanding the 4-to-6-Inch Rule
Why this specific range? Well, consider the common types of clamps you’ll use. F-style clamps, pipe clamps, and even many bar clamps have a throat depth that needs clearance. A 4-inch overhang usually gives enough space for these. Going up to 6 inches provides even more flexibility for larger or more complex clamping setups.
Consider Your Clamp Collection
Do you own a lot of deep-throated clamps? Or maybe you primarily use smaller spring clamps? Think about the tools you use most often. If your clamps are generally compact, 4 inches might be perfectly adequate. If you often work with large pieces or use clamps with deep jaws, leaning towards the 6-inch mark could be beneficial. We found that assessing your typical clamping needs is key.
The Impact of Workbench Material and Thickness
The material and thickness of your workbench top also play a role. A very thick, sturdy top can handle a slightly larger overhang without excessive flexing. For instance, a 4-inch thick butcher block top might support 6 inches of overhang well. However, a thinner plywood top might start to feel unstable with the same overhang. Many sources suggest matching the overhang to the sturdiness of your bench.
When to Deviate from the Standard Overhang
While 4 to 6 inches is a great starting point, there are always exceptions. Some specialized workbench designs might call for different overhangs. For example, a workbench designed for a specific machine might have very little or no overhang to maximize the stable work surface directly in front of the machine.
Specialized Workbench Needs
If you’re building a workbench for a very specific purpose, like a jeweler’s bench or a workbench with an integrated vise system, your overhang needs might change. For a vise, you might want the edge of the bench directly next to the vise to be flush, or have a minimal overhang. Always consider the primary function of your workbench.
Practical Tips for Designing Your Workbench Overhang
When you’re designing your workbench, it’s easy to get caught up in the dimensions. Here are a few practical tips to keep in mind regarding your overhang.
- Measure your clamps: Before you finalize your design, grab your most frequently used clamps. Measure their throat depth and how much space they need to get a good grip.
- Sketch it out: Draw a simple diagram of your workbench edge. Mark where your legs or supports will be. Then, draw the overhang and place your clamps on the drawing to visualize the fit.
- Consider future needs: Think about the types of projects you might tackle in the future. Will you need to clamp larger items?
- Don’t forget stability: Always prioritize a stable workbench. An unstable bench can lead to frustration and inaccurate work.
A Quick Checklist for Your Workbench Overhang
Here’s a handy checklist to ensure you’re getting your workbench overhang just right:
- Have you considered your most common clamps?
- Does the overhang allow them to grip securely?
- Is the overhang too large, risking wobble?
- Is your workbench top thick and sturdy enough for the overhang?
- Will this overhang work for your typical projects?
Conclusion
You’ve learned that the sweet spot for your workbench overhang is generally between 4 and 6 inches. This range provides ample space for your clamps without compromising your bench’s stability. We found that considering your specific clamp collection and workbench material is key. Don’t forget to measure your clamps and sketch out your design before you build. By focusing on this ideal overhang, you’ll ensure your workbench can securely hold your projects. Now, go build a bench that works for you!
Frequently Asked Questions
What if my clamps have a very deep throat?
If you frequently use clamps with a deep throat, you’ll want to lean towards the higher end of the recommended range, perhaps even 6 inches or slightly more. Measuring your deepest clamp is the best way to determine your minimum requirement for effective use.
Can I have a workbench with no overhang?
Yes, you can design a workbench with little to no overhang. This is often done for specialized benches where maximum stability right at the edge is critical, such as for mounting heavy machinery. However, this severely limits your ability to use standard clamps effectively.
How does the workbench top thickness affect the overhang?
A thicker, more robust workbench top can support a larger overhang without excessive flexing or wobbling. For thinner tops, you should aim for a smaller overhang, like 4 inches, to maintain overall stability and prevent potential damage.
Is 3 inches of overhang enough for most projects?
For many smaller projects and common clamps, 3 inches of overhang might be sufficient. However, we found that it can quickly become limiting when you need to clamp larger pieces or use clamps with substantial throat depths. It’s generally better to have a bit more clearance.
Should I consider bench dogs when planning my overhang?
Yes, bench dogs are an important consideration. If you plan to use bench dogs extensively, your overhang needs to be large enough to accommodate the dogs themselves, plus the clamp you’ll be using in conjunction with them. Measure your dog holes and your clamps to ensure clearance.