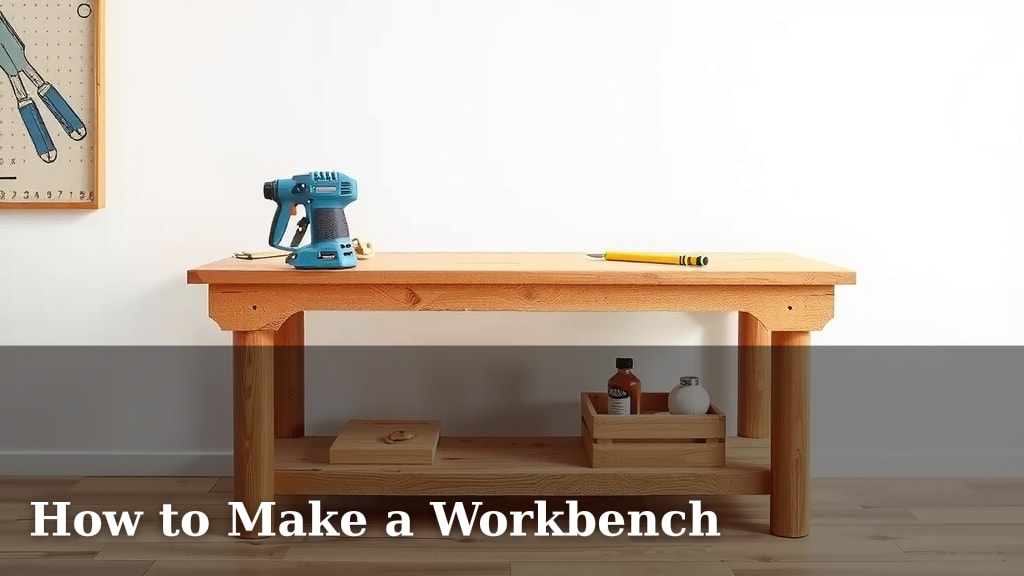
How to Make a Workbench
Building your own workbench is totally doable and can save you a lot of money. You can create a sturdy, functional workbench with basic tools and readily available materials. It’s a fantastic way to get a workspace tailored precisely to your needs, whether for DIY projects or professional use.
A well-built workbench is the heart of any workshop. It provides a stable surface for everything from woodworking to electronics repair. Many people find that a custom workbench improves their workflow and makes projects much more enjoyable. Getting this right means you’ll have a reliable partner for years to come.
- Choose a design that fits your space.
- Gather your materials and tools.
- Assemble the frame and legs.
- Attach the workbench top.
- Add any shelves or storage.
Ready to get your hands dirty? Let’s walk through exactly how to build a workbench step by step.
“`htmlBuilding Your Own Sturdy Workbench
So, you’re ready to create your own workspace? Building a workbench yourself is a rewarding project. It means you get exactly what you need. You can customize it for your space and your specific projects. Plus, it’s often much cheaper than buying one.
This guide will walk you through the steps. We’ll cover choosing a design, gathering materials, and putting it all together. By the end, you’ll have a solid workbench ready for action.
Choosing the Right Workbench Design for You
Before you grab your tools, think about your needs. What will you be using this workbench for mostly? Woodworking? Electronics? General DIY? The answer will help you decide on the best design.
Size and Space Considerations
Measure the space where your workbench will live. You don’t want it to be too big and block access. It also shouldn’t be so small that it’s not useful. Many plans are available online. Some are simple and compact, perfect for a small garage. Others are larger, heavy-duty benches for serious hobbyists.
Height Matters
The ideal workbench height is usually around your hip bone or slightly below. This allows you to work comfortably without hunching over. You should be able to stand or sit at it without strain. Many plans offer adjustable heights, which is a great feature.
Stability and Weight Capacity
If you’re doing heavy-duty work like woodworking, you need a rock-solid bench. This means using strong materials and sturdy joinery. Think about how much weight you expect the bench to hold. A good workbench should be able to handle several hundred pounds easily.
Gathering Your Workbench Materials and Tools
Once you have a plan, it’s time to get your supplies. Having everything ready makes the building process much smoother. You’ll typically need lumber, screws, and some basic woodworking tools.
Essential Lumber Choices
For the frame and legs, 2x4s or 4x4s are common choices. They offer good strength at a reasonable cost. For the workbench top, you have a few options. Plywood is popular for its affordability and availability. Some people prefer a thicker material like MDF (medium-density fiberboard) or even butcher block for a super durable surface. We found that a double layer of 3/4-inch plywood makes a very strong top (Fine Woodworking).
Fasteners and Hardware
You’ll need plenty of screws. Wood screws are best for joining lumber. Using screws that are 2.5 to 3 inches long is usually a good bet for 2×4 construction. Consider using pocket-hole joinery for extra strong connections if your plan calls for it.
Tools You’ll Likely Need
Here’s a checklist of common tools:
- Measuring tape
- Pencil
- Safety glasses (non-negotiable!)
- Circular saw or miter saw (for cutting lumber)
- Drill/driver with various bits
- Level
- Clamps (helpful for holding pieces together)
- Square
Assembling the Workbench Frame and Legs
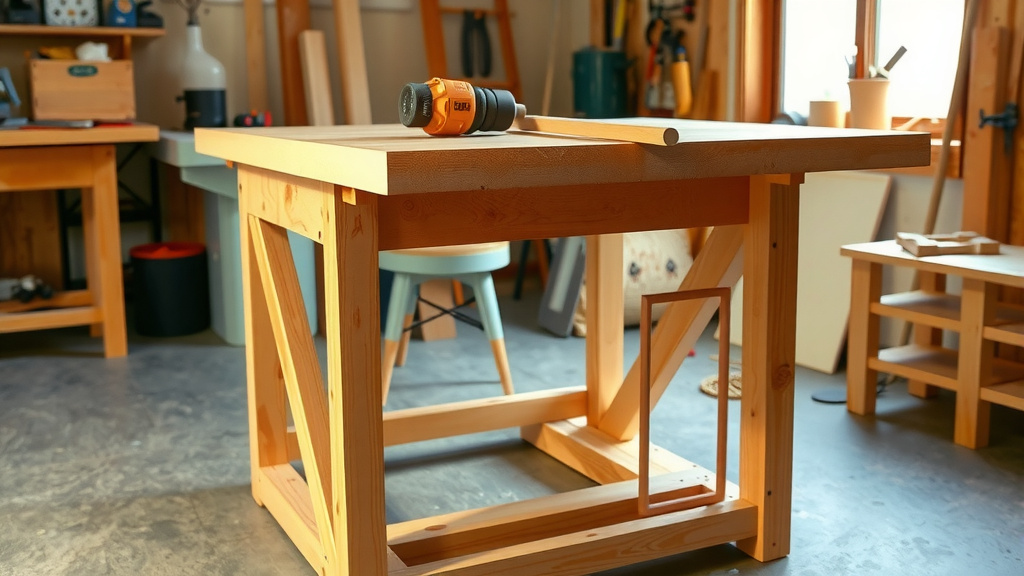
This is where your workbench starts to take shape. The frame is the foundation, so make sure it’s square and strong.
Building the Leg Assemblies
Most workbench plans involve building four leg assemblies. These often consist of two legs connected by stretchers. These stretchers add stability and help prevent the legs from wobbling. Measure twice, cut once!
Connecting the Frame
Once your leg assemblies are built, you’ll connect them to form the main frame. This usually involves adding aprons or rails around the top. These pieces will support the workbench top. Ensure all connections are tight and the frame is perfectly square.
Attaching the Workbench Top
This is the surface you’ll be working on. It needs to be flat, smooth, and sturdy.
Preparing the Top Material
If you’re using plywood, you might want to cut two pieces. This allows you to create a thicker, more robust top. Lay them out and align them carefully. You can glue them together for extra strength before attaching them to the frame.
Securing the Top
Once your top material is ready, place it on the frame. Make sure it overhangs evenly on all sides, if your design calls for it. Then, secure it using screws. Drive screws down through the top into the frame’s aprons. Space them evenly, about 6-8 inches apart, for a secure hold.
Adding Optional Shelves and Storage
A workbench isn’t just about the top surface. Adding shelves can make it much more functional.
Under-Bench Shelving
Many designs include a lower shelf. This is perfect for storing tools, materials, or even a workbench vice. You can build this shelf using the same lumber as the frame. Attach it securely to the legs.
Tool Holders and Drawers
Consider adding small shelves or holders for frequently used tools. Some people even build drawers for small parts. This organization can make a huge difference in your workflow.
Here’s a quick checklist to keep you on track:
- Finalize your workbench plan.
- Purchase all lumber and hardware.
- Cut all your pieces accurately.
- Assemble the leg and frame structure.
- Attach the workbench top securely.
- Add any desired shelves or storage.
Conclusion
You’ve learned how building your own workbench is a very achievable and rewarding project. You can tailor it perfectly to your space and needs. By following these steps, you’ve got the knowledge to create a sturdy, functional workspace. This workbench will serve you well for countless projects to come. Now is the time to gather your materials and start building. Your workshop is about to get a whole lot better!
Frequently Asked Questions
What’s the best type of wood for a workbench top?
For a workbench top, many people find that a double layer of 3/4-inch plywood creates a very strong and stable surface. MDF is also a popular choice for its smooth finish. If you need something extremely durable, consider a butcher block top, though this is more expensive.
How high should my workbench be?
The ideal workbench height is usually around your hip bone or just below. This allows you to work comfortably without hunching over. You should be able to stand or sit at the bench without strain. Many plans offer adjustable height options, which can be very useful.
Can I build a workbench with just basic tools?
Yes, you can. With a measuring tape, pencil, safety glasses, a saw (like a circular or miter saw), a drill/driver, a level, and a square, you can build a solid workbench. Clamps can also be very helpful for holding pieces together while you work.
How do I make sure my workbench is stable?
Stability comes from strong materials and good joinery. Using thicker lumber like 2x4s or 4x4s for the legs and frame is key. Ensure all connections are tight and that the frame is perfectly square. Adding stretchers between the legs also greatly increases stability.
What’s the easiest way to attach the workbench top?
Once your frame is built and your top material is cut and ready, place the top onto the frame. Ensure it overhangs evenly on all sides as desired. Secure the top by driving wood screws down through it into the frame’s aprons. Space screws about 6-8 inches apart for a secure hold.