How the Calibration Bench Works in The Division 2
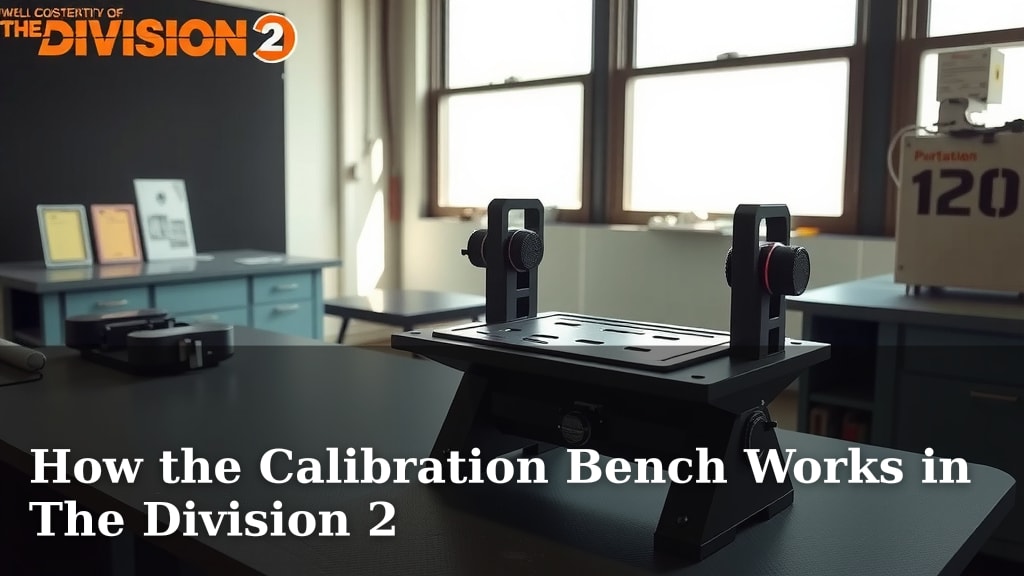
The Calibration Bench in The Division 2 works by letting you reroll a single stat on your gear. You can only change one attribute, and it’s a great way to fine-tune your build. Think of it as a targeted upgrade for your favorite items.
Finding the right gear is only half the battle in Washington D.C. Your build’s effectiveness often hinges on having the perfect stats. The Calibration Bench is your tool for making those small but important adjustments. We found it’s essential for maximizing your damage output and survivability.
- The Calibration Bench lets you reroll one stat on your gear.
- It helps you optimize your build for better performance.
- You need a piece of gear with the desired stat to transfer.
- It requires calibration components and materials to use.
- This bench is key for endgame gear optimization.
Let’s walk through exactly how you can use the Calibration Bench to improve your gear and make your agent even more effective on the streets.
Understanding The Division 2 Calibration Bench Mechanics
The Calibration Bench is your secret weapon for perfecting your gear in The Division 2. It allows you to take a piece of gear you really like and tweak its attributes. You can’t change everything, but you can make one specific stat much better. This is super important for fine-tuning your build.
What is the Calibration Bench For?
At its core, the Calibration Bench lets you reroll one attribute on a piece of gear. This means you can replace an existing stat with a new one. The key is that the new stat is based on attributes you’ve already collected. Think of it like swapping out one of your car’s existing parts for a better version you’ve found elsewhere.
How to Access and Use the Bench
You’ll find the Calibration Bench at your Base of Operations, typically the White House or your Campus safe house. Once you approach it, you can select a piece of gear from your inventory. The bench will then show you the attributes of that gear. You’ll see which attribute can be rerolled and what options are available.
Choosing What to Reroll
You can only change one stat per item. You’ll want to pick an attribute that’s either low or not ideal for your build. For example, if you have a chest piece with critical hit damage but you need more armor, you might reroll the critical hit damage. You then have to choose a replacement stat from a list of attributes you’ve previously extracted from other gear.
The Cost of Calibration
Using the Calibration Bench isn’t free. You’ll need two main things: Calibration Components and Named Item Components. Calibration Components are fairly common and drop from various activities. Named Item Components are rarer and come from dismantling named gear items. The cost increases as you reroll stats more often on the same item.
The Importance of a “God Roll” Stat
To get the best results, you’ll want to have a “god roll” stat available to transfer. A “god roll” refers to the absolute highest possible value for a specific attribute. If you have a weapon with a perfect damage roll or a piece of armor with a maxed-out critical hit chance, you can extract that attribute. Then, you can use it at the Calibration Bench. This allows you to make your gear truly exceptional.
Extracting Attributes for Calibration
To extract an attribute, you need to dismantle a piece of gear that has the desired stat. Go to your Inventory, select the gear piece, and choose the option to “Extract Attribute.” This will consume the gear piece but save the attribute value in your Recalibration Library. This library holds all the attributes you’ve extracted. You can then use these stored attributes at the Calibration Bench.
Using the Recalibration Library
The Recalibration Library is where all your extracted attributes are stored. It’s like a big filing cabinet for your best gear stats. When you use the Calibration Bench, you’ll see the available attributes from your library. You can only transfer one attribute at a time from the library to your chosen gear. The highest value of an attribute you’ve extracted will be what’s available.
What Can and Can’t Be Calibrated?
You can reroll most core attributes and some powerful talent effects. However, there are limitations. You generally cannot reroll attributes that are inherent to the gear type, like the base damage on a weapon. Special talents on chest pieces and backpacks, like “Vigilance” or “Unbreakable,” usually cannot be directly transferred or rerolled using the bench alone. You might need specific talents available to choose from.
| Action | Calibration Components | Named Item Components |
|---|---|---|
| First Reroll | ~10 | ~1 |
| Second Reroll (Same Item) | ~20 | ~2 |
| Third Reroll (Same Item) | ~40 | ~4 |
| Fourth Reroll (Same Item) | ~80 | ~8 |
Note: These numbers are estimates and can vary slightly based on game updates.
Strategies for Gear Optimization
The best way to use the Calibration Bench is to focus on one piece of gear at a time. First, identify the attribute you want to change. Then, make sure you have an attribute of equal or higher value saved in your Recalibration Library. After that, gather the necessary Calibration Components and Named Item Components. Finally, head to the bench and make the swap.
Prioritizing Your Gear Upgrades
Which gear should you calibrate first? Many agents focus on their chest piece and backpack due to the powerful talents they can hold. Weapons are also a high priority for boosting damage output. Armor pieces are great for specific stats like critical hit chance or armor regeneration. We found that focusing on gear that directly impacts your build’s core strengths yields the best results.
A Quick Checklist for Calibration Success
Here’s a handy checklist to ensure your calibration runs smoothly:
- Identify Target Gear: Know which item you want to improve.
- Determine Desired Stat: Decide which attribute needs a change.
- Check Recalibration Library: Ensure you have the stat to transfer.
- Gather Components: Collect enough Calibration and Named Item Components.
- Visit the Bench: Go to your Base of Operations.
- Perform the Reroll: Make the swap for a better attribute.
Conclusion
You now understand how the Calibration Bench helps you perfect your Division 2 gear. It’s your go-to tool for making those essential stat adjustments. Remember, you can only reroll one attribute per item. Always check your Recalibration Library for the best possible stats before you make a swap. Gather your Calibration Components and Named Item Components to cover the costs. Now, head back into the game and start fine-tuning your favorite items!
Frequently Asked Questions
How much does it cost to use the Calibration Bench?
Using the Calibration Bench requires two main resources: Calibration Components and Named Item Components. The cost increases with each reroll you perform on the same item. You can find approximate costs in the table provided in the article.
Can I reroll any stat on my gear?
You can reroll most core attributes and some specific talent effects. However, some stats, like the base damage on weapons or major talents on chest and backpack pieces, might not be rerollable or transferable through the bench. Always check the available options on the bench itself.
What’s the difference between the Calibration Bench and the Recalibration Library?
The Recalibration Library stores the attributes you’ve extracted from dismantled gear. The Calibration Bench is the station where you actually take an attribute from your library and apply it to a different piece of gear, replacing one of its existing attributes.
Do I need to have the exact same gear type to extract stats?
No, you don’t need the exact same gear type. For example, you can extract a Critical Hit Chance stat from a mask and use it to reroll an attribute on a chest piece. What matters is having the desired stat value stored in your library.
Should I always aim for the highest possible stat value from my library?
Yes, it’s generally best to use the highest stat value you have available in your Recalibration Library. This ensures you’re making the most impactful upgrade to your gear. If you have multiple versions of the same stat, the bench will show you the highest one you’ve extracted.