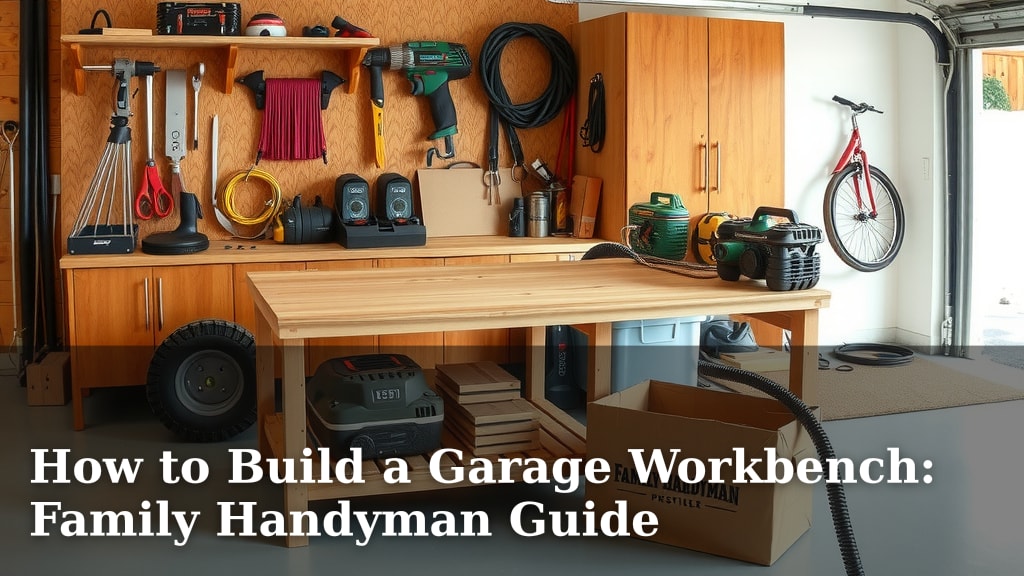
How to Build a Garage Workbench: Family Handyman Guide
Building a garage workbench is a rewarding DIY project that adds serious utility to your space. You can absolutely build a sturdy, functional workbench yourself with basic tools and materials. It’s a fantastic way to get organized and create a dedicated spot for all your projects. Let us show you how!
A well-built workbench can transform your garage from a cluttered storage unit into a true workshop. We found that proper planning and a few key steps make all the difference for a successful build. Think about the types of projects you’ll tackle. This will help you choose the right size and features.
- Get the right tools and materials ready.
- Plan your workbench size and design.
- Build a strong, stable frame.
- Attach a durable work surface.
- Add storage if you need it.
Ready to get your hands dirty and build something awesome? Below, we’ll walk you through how to build a garage workbench step by step, making it easy for you to get started.
Constructing Your Perfect Garage Workbench
Building your own garage workbench is a fantastic DIY project. It gives you a sturdy surface for countless tasks. You can customize its size and features to fit your needs perfectly. We’ve found that a little planning goes a long way for a successful build.
Planning Your Workbench: Size, Style, and Materials
Before you grab your tools, let’s think about what you need. What kind of projects will you be doing? Will you be working on woodworking, car repairs, or just general tinkering? Your answers will help determine the best size and design for your workbench. A good rule of thumb is to make it tall enough so you can work comfortably without hunching over. Many people find a height of about 36 inches to be ideal.
Determining the Right Dimensions
Consider the space available in your garage. Measure the area where you plan to put your workbench. You don’t want it to feel cramped or block access to other things. Most garage workbenches are about 2 to 8 feet long. A common depth is around 2 to 3 feet. Think about the types of projects you’ll tackle. Larger projects might need a longer surface. Make sure you have enough room to move around it freely.
Choosing Your Workbench Style
There are several popular styles for garage workbenches. Some are simple, open designs. Others include built-in storage like drawers or shelves. We’ve seen many DIYers opt for a heavy-duty frame with a thick top. This provides maximum stability. Another option is a mobile workbench on casters. This allows you to move it around your garage as needed. For most general use, a fixed, sturdy workbench is a great starting point.
Selecting Your Materials
The materials you choose will affect the strength and longevity of your workbench. For the frame, sturdy lumber like 2x4s or 2x6s is a popular choice. Plywood or a solid wood slab works well for the workbench top. We found that a thick piece of plywood, often doubled up, offers a durable and affordable surface. For those who do heavy-duty work, butcher block or a dedicated workbench top might be worth the investment. Don’t forget about fasteners like screws and bolts. They need to be strong enough to hold everything together securely.
Building the Workbench Frame: The Foundation of Stability
The frame is the backbone of your workbench. A strong, stable frame is essential for safety and functionality. You want something that won’t wobble when you’re hammering or applying pressure. We found that using 2x4s or 2x6s for the legs and apron provides excellent support.
Cutting Your Lumber Accurately
Measure twice, cut once! This old saying is especially true when building anything. Use a tape measure and a pencil to mark your cut lines carefully. A miter saw or a circular saw can make clean, straight cuts. Ensure all your leg pieces are the same length. This will prevent your workbench from being lopsided.
Assembling the Legs and Apron
Start by building the leg assemblies. Attach the apron boards to the tops of the legs. The apron boards run along the sides and front of the workbench, connecting the legs. We found that using wood screws is a common method. For extra strength, some builders use pocket hole joinery or even lag bolts. Ensure the apron sits flush with the top of the legs. This creates a level surface for your tabletop.
Adding Support and Bracing
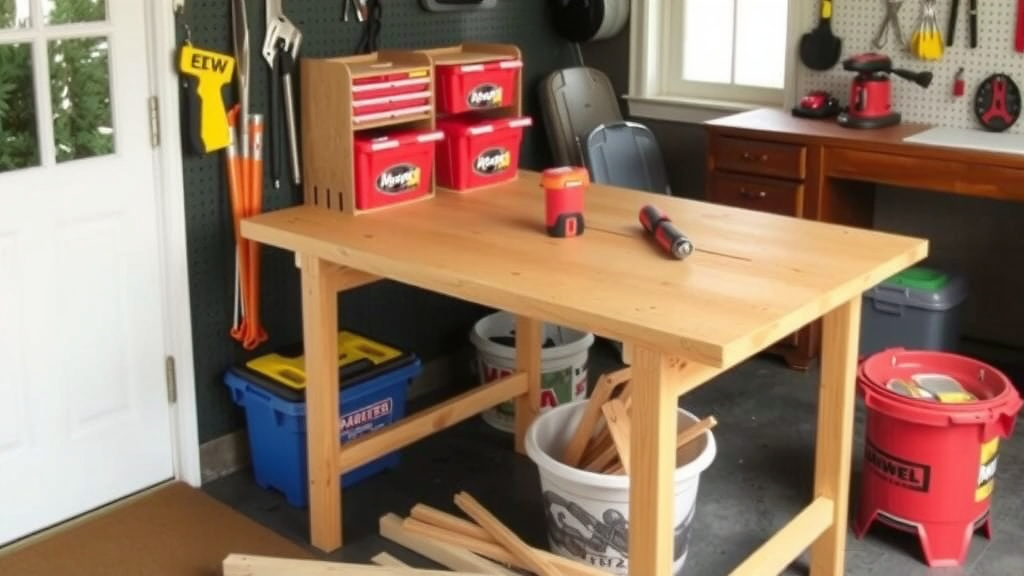
To make your frame even sturdier, consider adding diagonal bracing. You can add braces between the legs or between the legs and the apron. This prevents racking, which is when the frame twists or wobbles. Many designs include a lower shelf or stretcher bars. These add rigidity and can also serve as storage space.
Attaching the Workbench Top: Your Workspace Surface
The workbench top is where all the action happens. It needs to be durable and flat. You have a few options for creating this surface.
Preparing Your Workbench Surface
If you’re using plywood, you might want to use two layers. This makes the top thicker and more robust. Cut the plywood to the desired size. Then, glue and screw the layers together. Make sure the edges are flush. For a smoother finish, you can lightly sand the surface. Many people also choose to apply a sealant or finish to protect the wood from spills and wear. Research indicates that a polyurethane finish can add significant durability (National Woodworking Association).
Securing the Top to the Frame
Once your top is ready, it’s time to attach it to the frame. Place the top onto the assembled frame. Make sure it’s centered and overhangs evenly on all sides, if desired. We found that screwing the top down from underneath, through the apron, is a clean way to do it. Alternatively, you can screw down through the top into the frame. Use screws that are long enough to get a good grip but not so long that they poke through the other side.
Optional Additions: Enhancing Your Workbench
Once the basic structure is complete, you can add features to make your workbench even more useful. Think about your workflow and what would make tasks easier for you.
Adding Shelving or Drawers
Storage is key in any garage. You can easily add shelves below the workbench top. These are great for storing larger items. If you need to keep tools organized and out of the way, consider adding drawers. Building drawers can add a bit more complexity, but the organization they provide is often worth it. Many simple drawer designs can be found online.
Incorporating a Vise or Other Tools
A vise is an incredibly useful addition for holding projects in place. You can buy a bench vise and bolt it securely to the workbench top. Other additions could include pegboard for hanging tools, or even built-in power strips.
Workbench Checklist: What You’ll Need
- Sturdy lumber for the frame (e.g., 2x4s, 2x6s)
- Plywood or other material for the workbench top
- Wood screws and possibly lag bolts
- Measuring tape and pencil
- Saw (miter saw, circular saw, or hand saw)
- Drill and drill bits
- Sandpaper (optional)
- Wood glue (optional)
- Workbench vise (optional)
Conclusion
You’ve now got a clear roadmap for building your own garage workbench. We’ve covered everything from choosing the right size and style to constructing a stable frame and attaching a durable top. Building this workbench is a fantastic project that will serve you well for years. It’s your chance to create a dedicated workspace tailored to your needs. So, gather your materials and get ready to build something awesome. Your garage will thank you!
Frequently Asked Questions
How tall should my garage workbench be?
A workbench height of around 36 inches is commonly found to be comfortable for most people. This height allows you to work without excessive hunching. You should stand at it and see what feels most natural for your tasks.
What’s the best material for a workbench top?
For most DIYers, a doubled-up layer of thick plywood offers a great balance of durability and cost. If you plan on heavy-duty work, consider butcher block or a specialized workbench top for extra resilience.
How do I make sure my workbench is stable?
A strong frame is key. Use sturdy lumber like 2x4s or 2x6s for the legs and apron. Adding diagonal bracing or lower stretcher bars will significantly prevent wobbling and make your workbench much more stable.
Can I add storage to my workbench?
Absolutely! Adding shelves below the workbench top is a straightforward way to store larger items. For smaller tools, consider building or buying drawer units to keep your workspace organized.
Do I need special tools to build a workbench?
You’ll need basic tools like a saw, drill, and measuring tape. A miter saw or circular saw will make cuts easier and more accurate. Most of the assembly can be done with common wood screws.